This is the Stable version of the documentation. The latest version is experimental and under active development. You can use the version selector in the top-right menu to switch versions for this specific page, or click here to go to the latest version's homepage.
Opstella Global Source Code Templates
เนื้อหานี้ยังไม่มีในภาษาของคุณ
การนำ Template มาใช้งานในระบบ Opstella (Global Template)
Section titled “การนำ Template มาใช้งานในระบบ Opstella (Global Template)”-
กรอกลิงก์ gitlab บนช่องที่อยู่ของเว็บไซต์บนเว็บเบราว์เซอร์ ระบบจะปรากฏหน้าจอลงชื่อเข้าสู่ระบบ GitLab
-
เมื่อเข้าสู่ระบบสำเร็จแล้ว ให้คลิกที่ปุ่ม “Menu” จากนั้นคลิกที่เมนู “Groups” และ คลิกที่เมนูย่อย “Your groups” ดังรูป

-
เมื่อเข้าสู่หน้า Group แล้วให้ทำการค้นหา group โดยคนหาด้วยคำว่า “global template”
🖼️ [Screenshot Placeholder: 3.png]
-
เมื่อค้นหาพบให้ทำการกดเลือกเพื่อเข้าสู่ Group
-
เมื่อเข้าสู่ Group ให้ทำการกดปุ่ม “New project” เพื่อสร้าง project ที่เก็บ source code template

-
หลังจากกดปุ่ม New project จะแสดงหน้าตัวเลือก เพื่อให้เลือกตัวเลือกในการสร้าง project ให้ผู้ใช้ทำการคลิกปุ่ม “Create blank project”
-
ระบบจะแสดงหน้าเพื่อให้กรอกข้อมูล project จากนั้นกดปุ่ม “create project”
หมายเหตุ ชื่อโปรเจคจะนำไปแสดงที่ส่วนของ opstella ในการใช้งานหน้า create component
-
เมื่อสร้าง project สำเร็จ ระบบจะแสดงดังรูป
-
จากนั้นกดเข้าเมนู “Branches” เพื่อทำการสร้าง branch สำหรับจัดทำเป็นเวอร์ชั่นของ source code
หมายเหตุ สามารถกดเข้าเมนู branch ได้ด้วยอีก 1 วิธีคือการกดเมนูที่ด้านซ้าย เมนู “Repository” จากนั้นเลือก “Branches”
🖼️ [Screenshot Placeholder: 91.png]
-
จากนั้นทำการสร้าง branch ที่เป็น version ของ template
🖼️ [Screenshot Placeholder: 11.png]
-
เมื่อสร้าง branch เสร็จสิ้นระบบจะนำผู้ใช้งานไปที่หน้า project (branch ที่สร้าง)
🖼️ [Screenshot Placeholder: 12.png]
-
จากนั้นให้ผู้ใช้งาน เพิ่ม source code ที่ต้องการทำเป็น template และทำการ push source code ไปที่ repository นี้
-
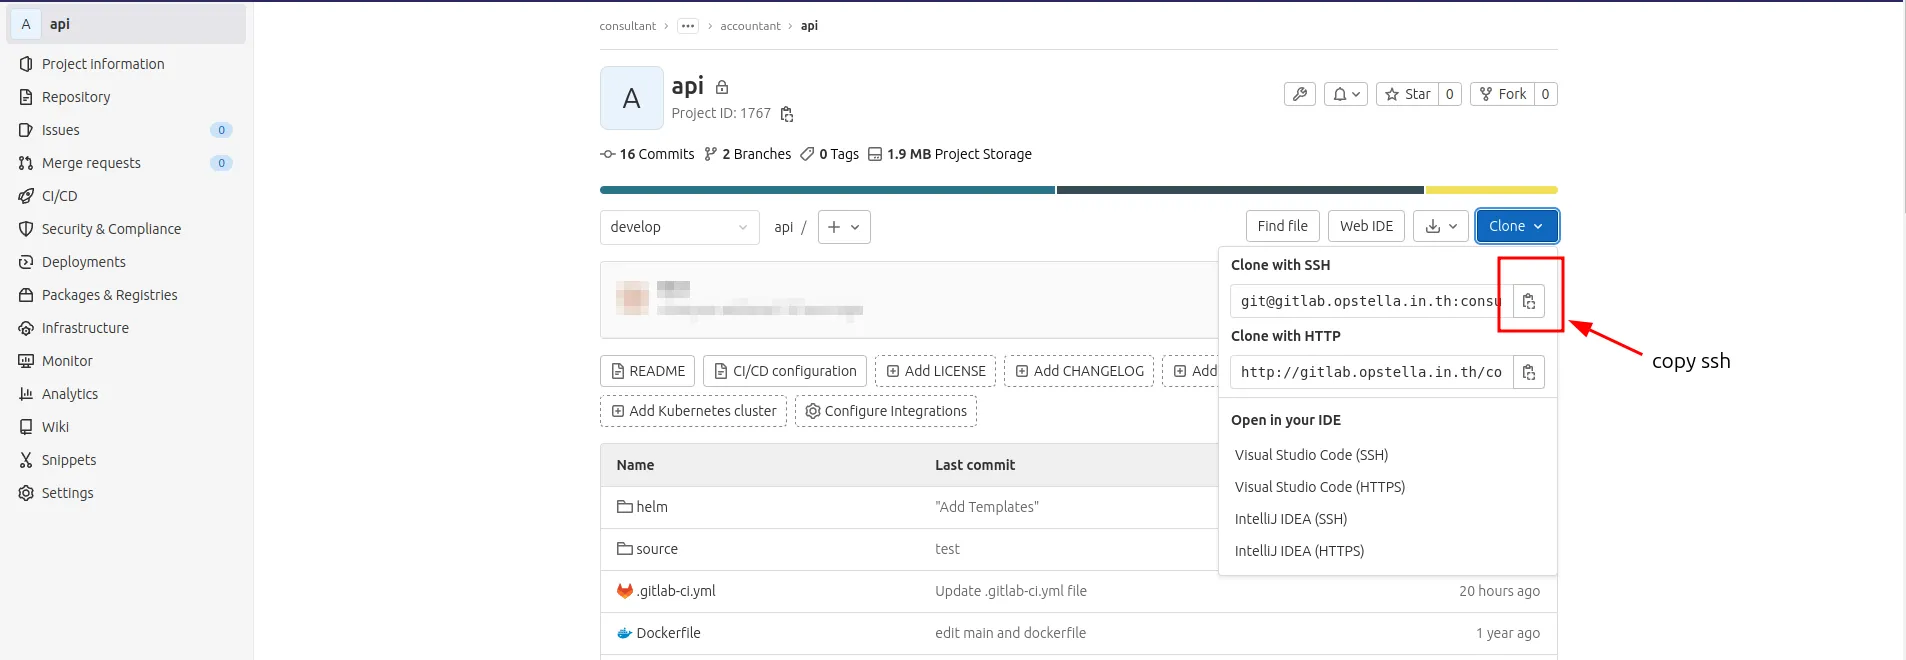
เริ่มต้นการ clone เพื่อนำ repository นี้ ไปปรับแต่งเพิ่ม กดที่ปุ่ม “Clone” และทำการคัดลอก url เพื่อทำการ clone
🖼️ [Screenshot Placeholder: 13.png]
-
เปิด terminal (Ubuntu, MacOS) หรือ powershell (windows) และ
ทำการพิมพ์คำสั่ง “git clone link” ส่วนของ link นำ link ที่ได้ทำการคัดลอก url มาแทนและกด enter
🖼️ [Screenshot Placeholder: 14.png]
🖼️ [Screenshot Placeholder: 15.png]
🖼️ [Screenshot Placeholder: 16.png]
-
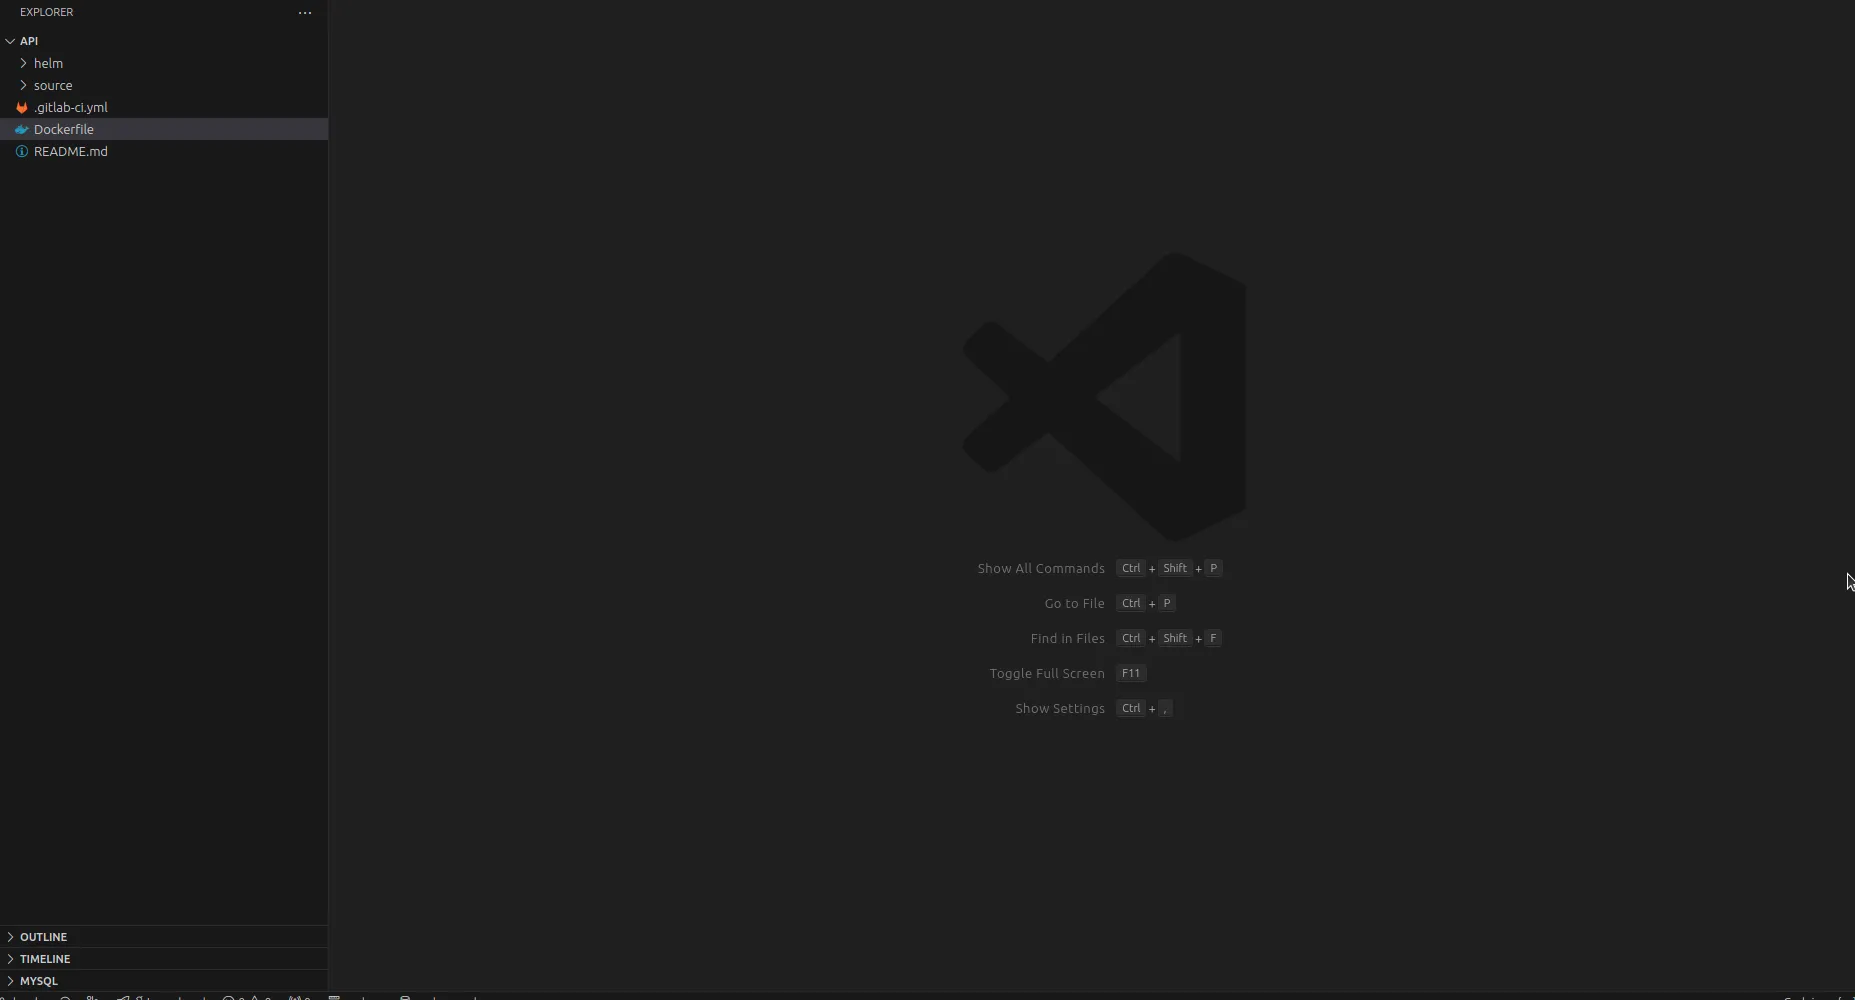
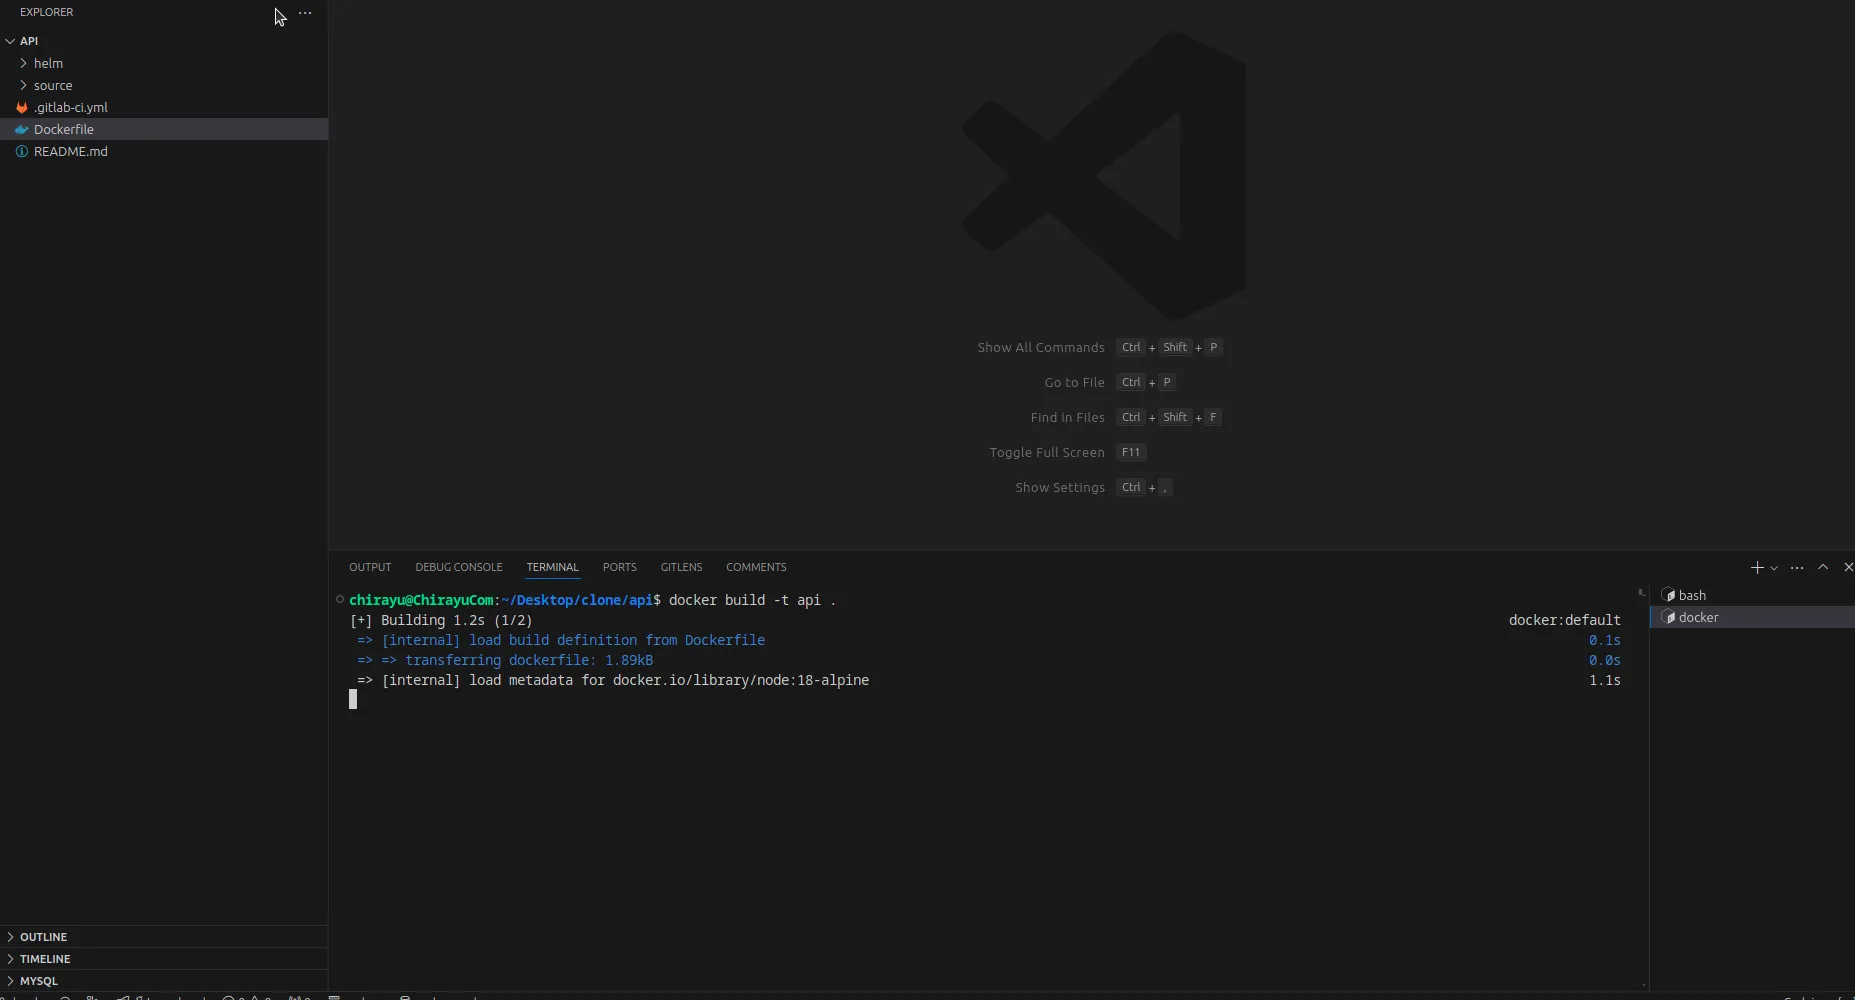
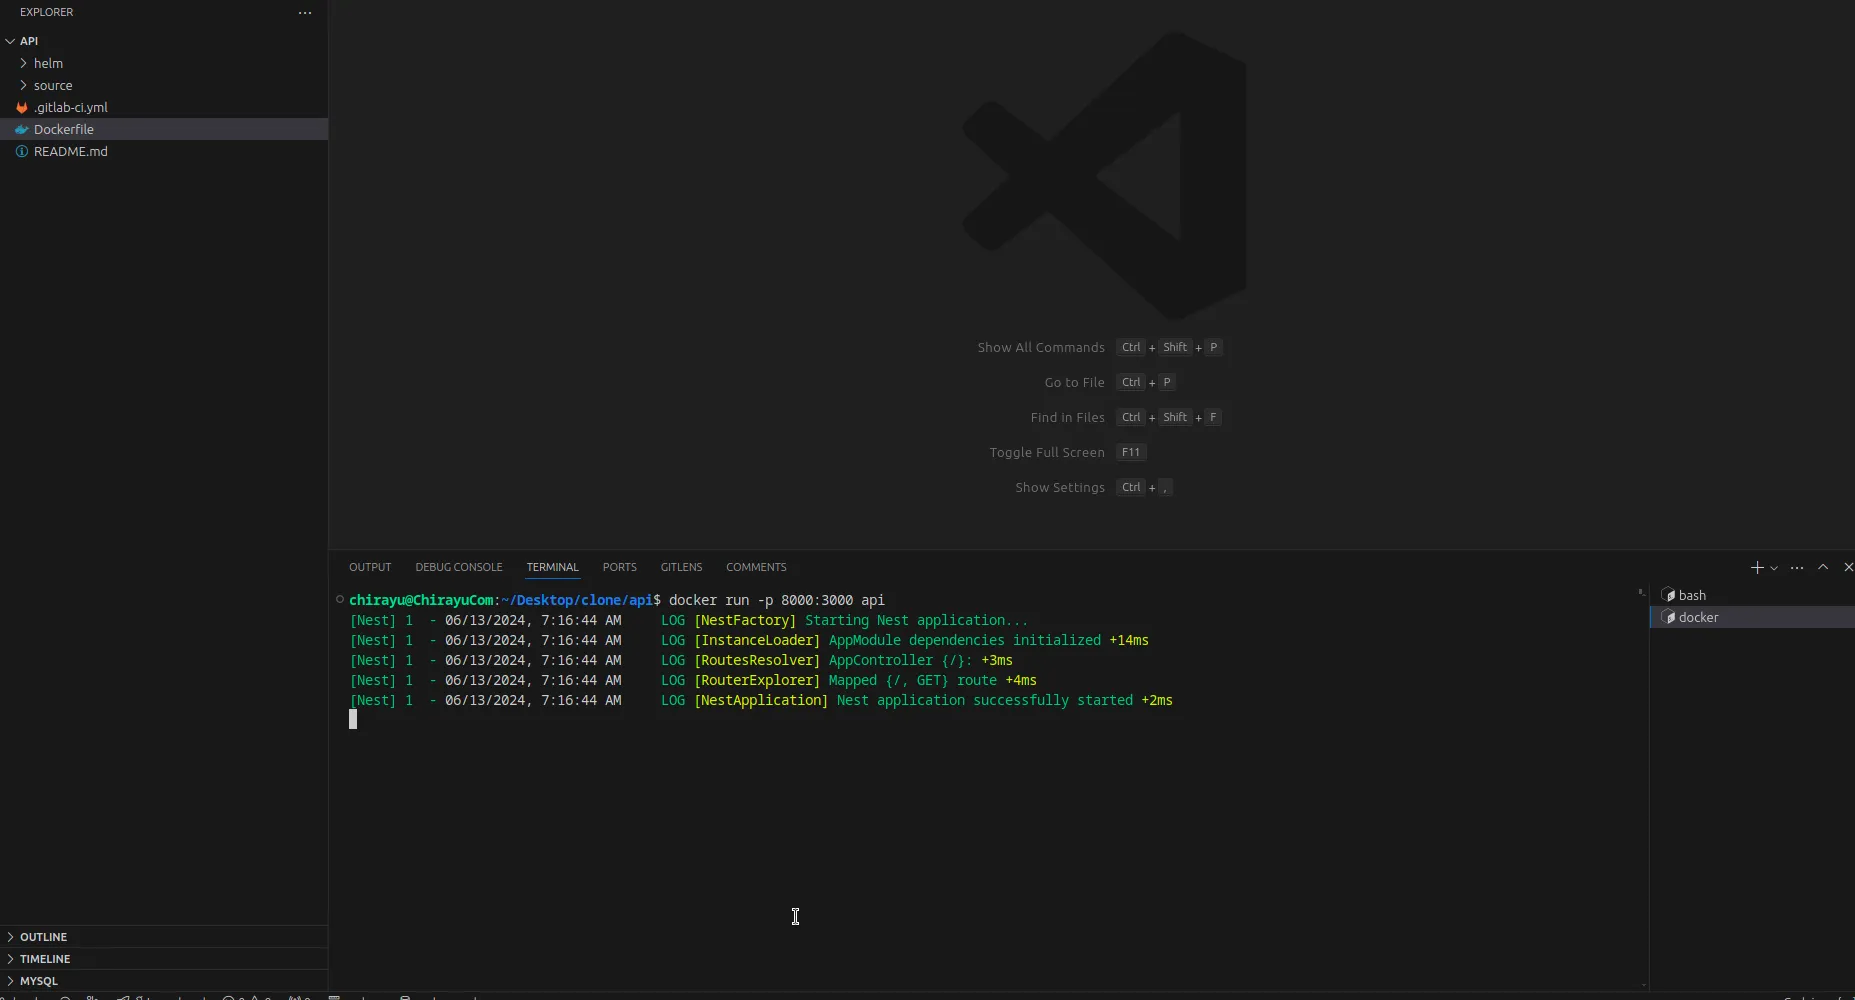
เมื่อผู้ใช้งานปรับแต่งแก้ไข source code เสร็จเมื่อทำการ push source code เรียบร้อย source code จะถูกเก็บอยู่ที่ repository ใน gitlab
🖼️ [Screenshot Placeholder: 17.png]
🖼️ [Screenshot Placeholder: 18.png]
-
การอัพเดตภาพหรือ logo ของ template สามารถเพิ่มรูปได้ที่ branch main โดยชื่อรูปภาพคือ “logo.svg”
🖼️ [Screenshot Placeholder: 19.png]
-
จากนั้นเข้าสู่ระบบ opstella และไปที่หน้า Create Component
🖼️ [Screenshot Placeholder: 20.png]
-
ระบบแสดงหน้า create component จะเห็นได้ว่า template ที่ได้ทำการสร้าง ยังไม่แสดงที่หน้า create component ให้ทำการกดปุ่มเพื่อ sync ข้อมูล
🖼️ [Screenshot Placeholder: 21.png]
🖼️ [Screenshot Placeholder: 22.png]
-
เมื่อระบบทำการ sync ข้อมูลสำเร็จ ระบบจะแสดง template ที่ผู้ใช้งานสร้างดังภาพ
🖼️ [Screenshot Placeholder: 23.png]
Finished?
Use the below navigation to proceed