

This is the Experimental version (Latest). It is under active development and may change. For the most reliable documentation, use the version selector in the top-right to switch to Stable, or click here to go to the Stable version's homepage.
GitLab Configurations on Web Interface
Last updated:
Some of Configurations and Opstella Integrations are done on Web Interface.
Preparation
Section titled “Preparation”You need to access
gitlab.${BASE_DOMAIN}and Login withrootUser Account.
Create Access Token for Opstella
Section titled “Create Access Token for Opstella”-
Sign In to GitLab Instance with
rootLocal Account and Create Access Token for OpstellaGo to
Profile Logo>Preferences>Access Tokens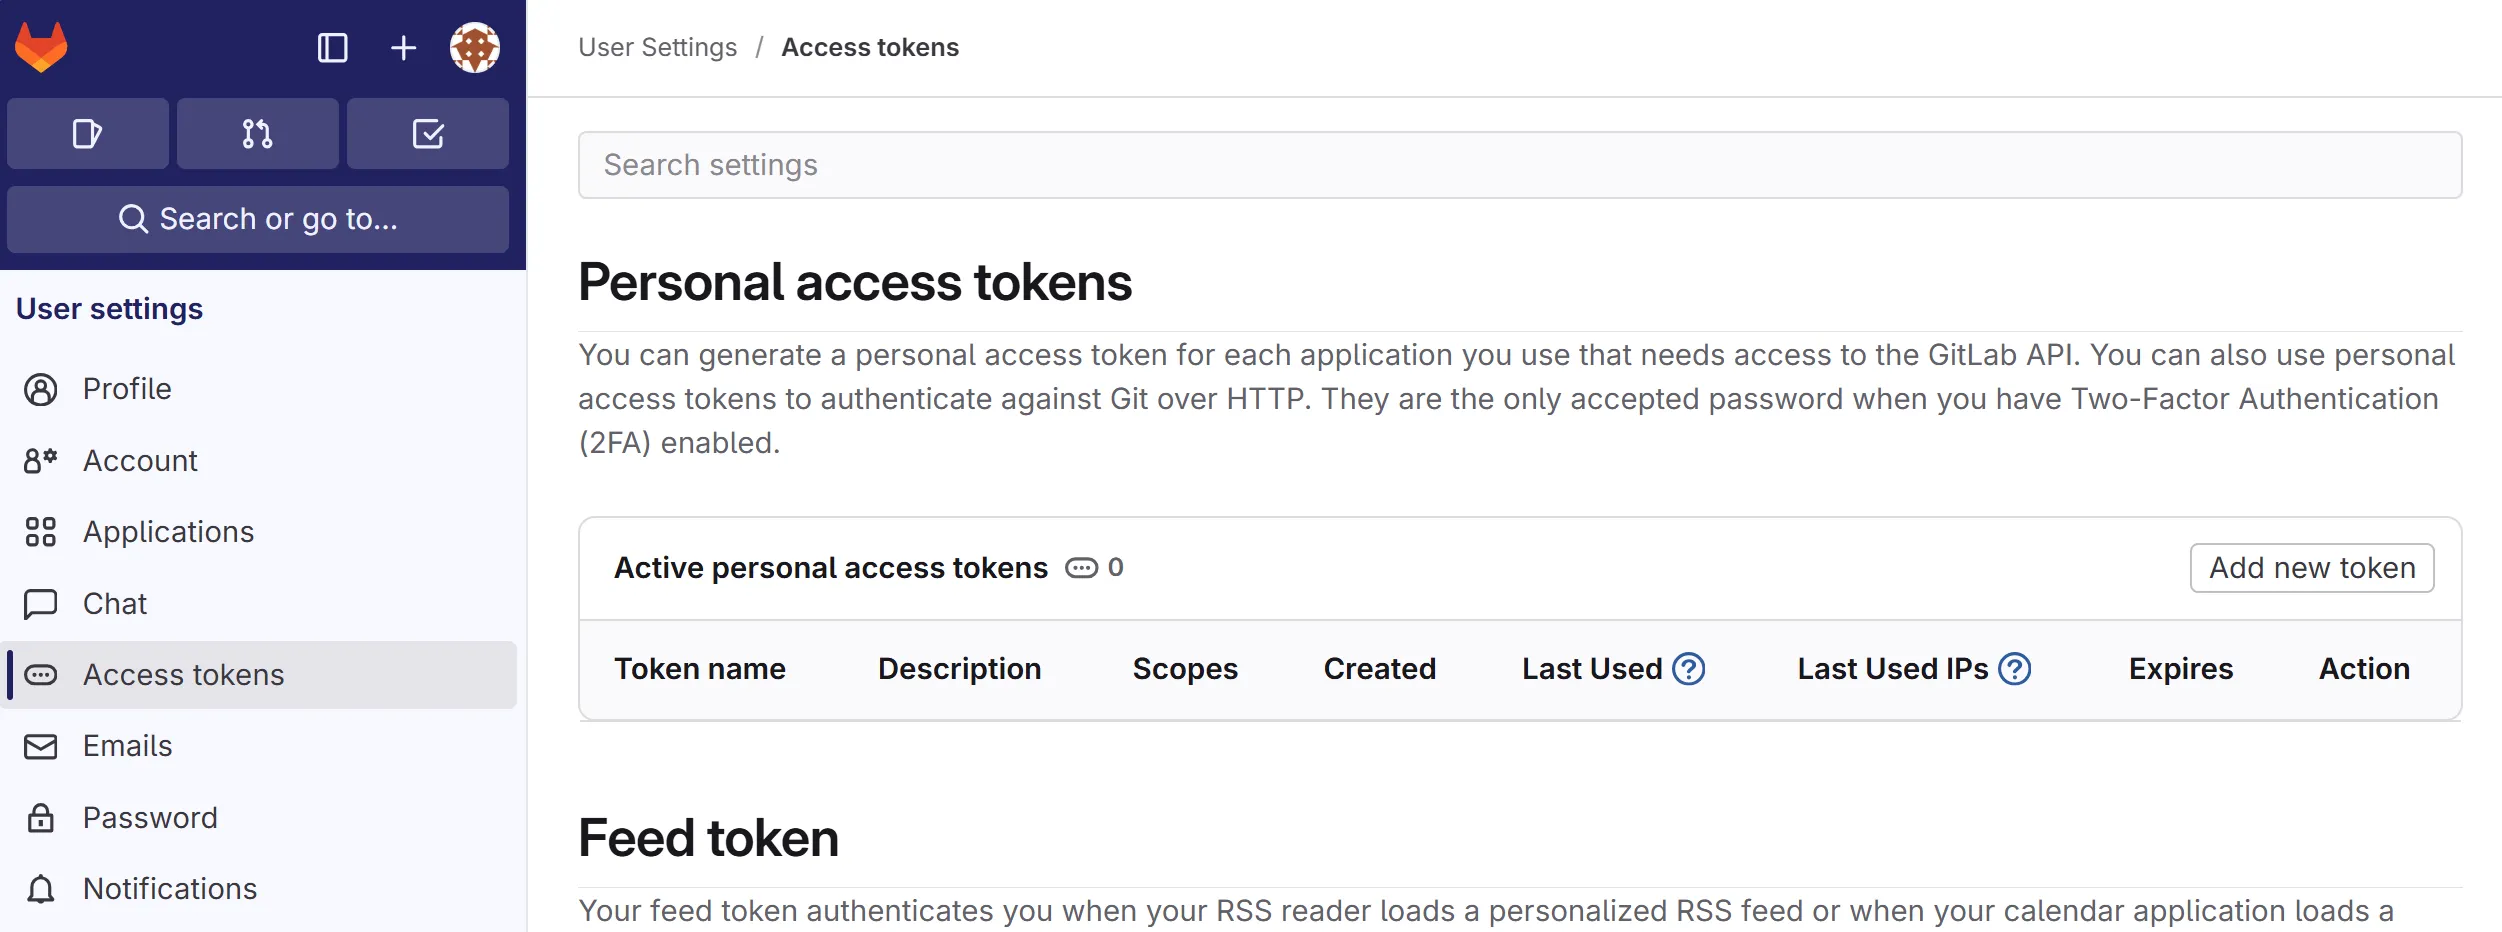
Create new Access Token named
opstella-platformwith the following scope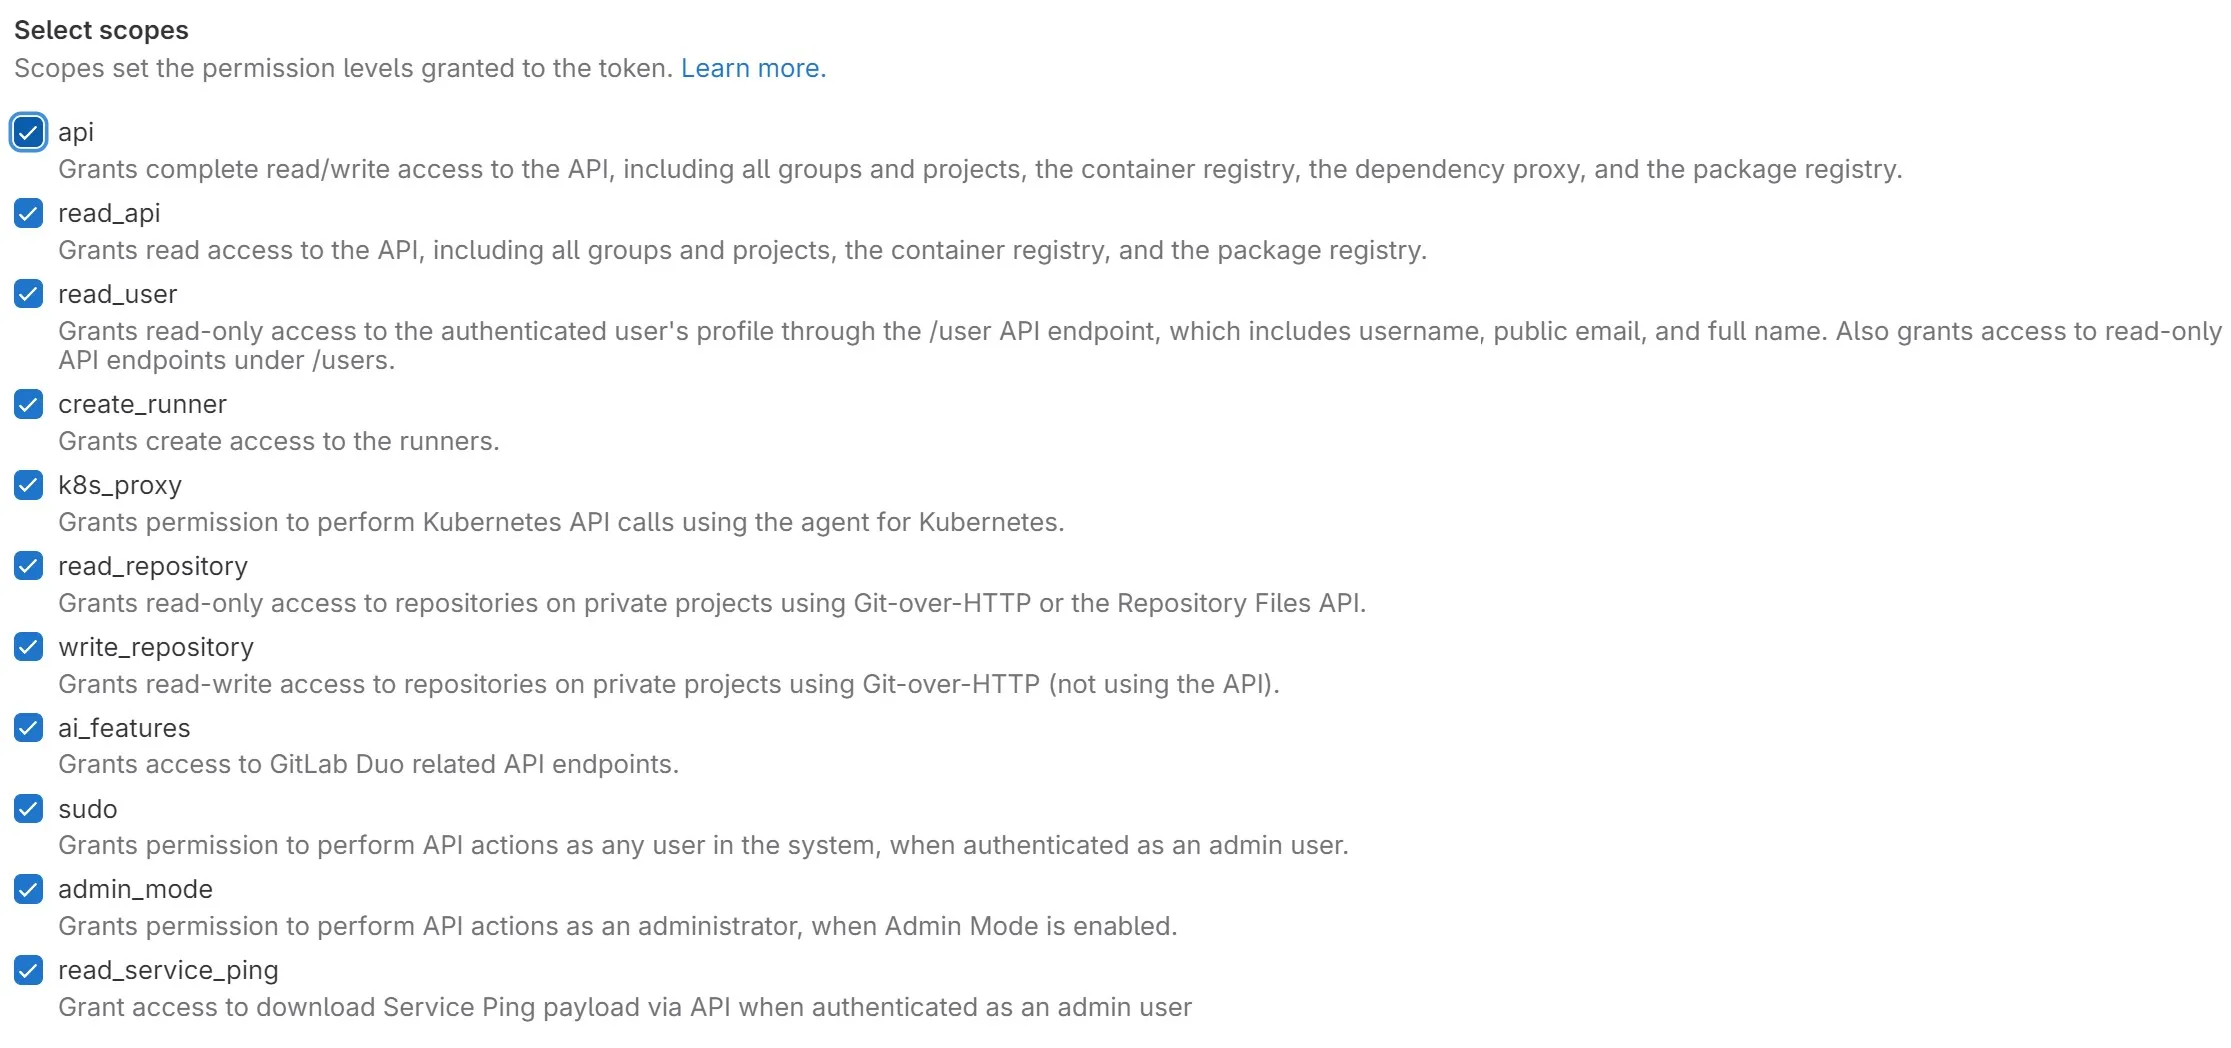
The scopes ticked in the screenshot, as text:
| Scope | Why |
|---|---|
api | everything Opstella does against GitLab (already covers read_api, read_repository, write_repository) |
read_user | resolve the user behind a request |
create_runner | register the Opstella-managed GitLab Runner |
k8s_proxy | GitLab’s Kubernetes proxy endpoints |
sudo, admin_mode | act as another user and perform admin actions |
ai_features, read_service_ping | only if those features are used on this instance |
Customize GitLab Web Interface
Section titled “Customize GitLab Web Interface”-
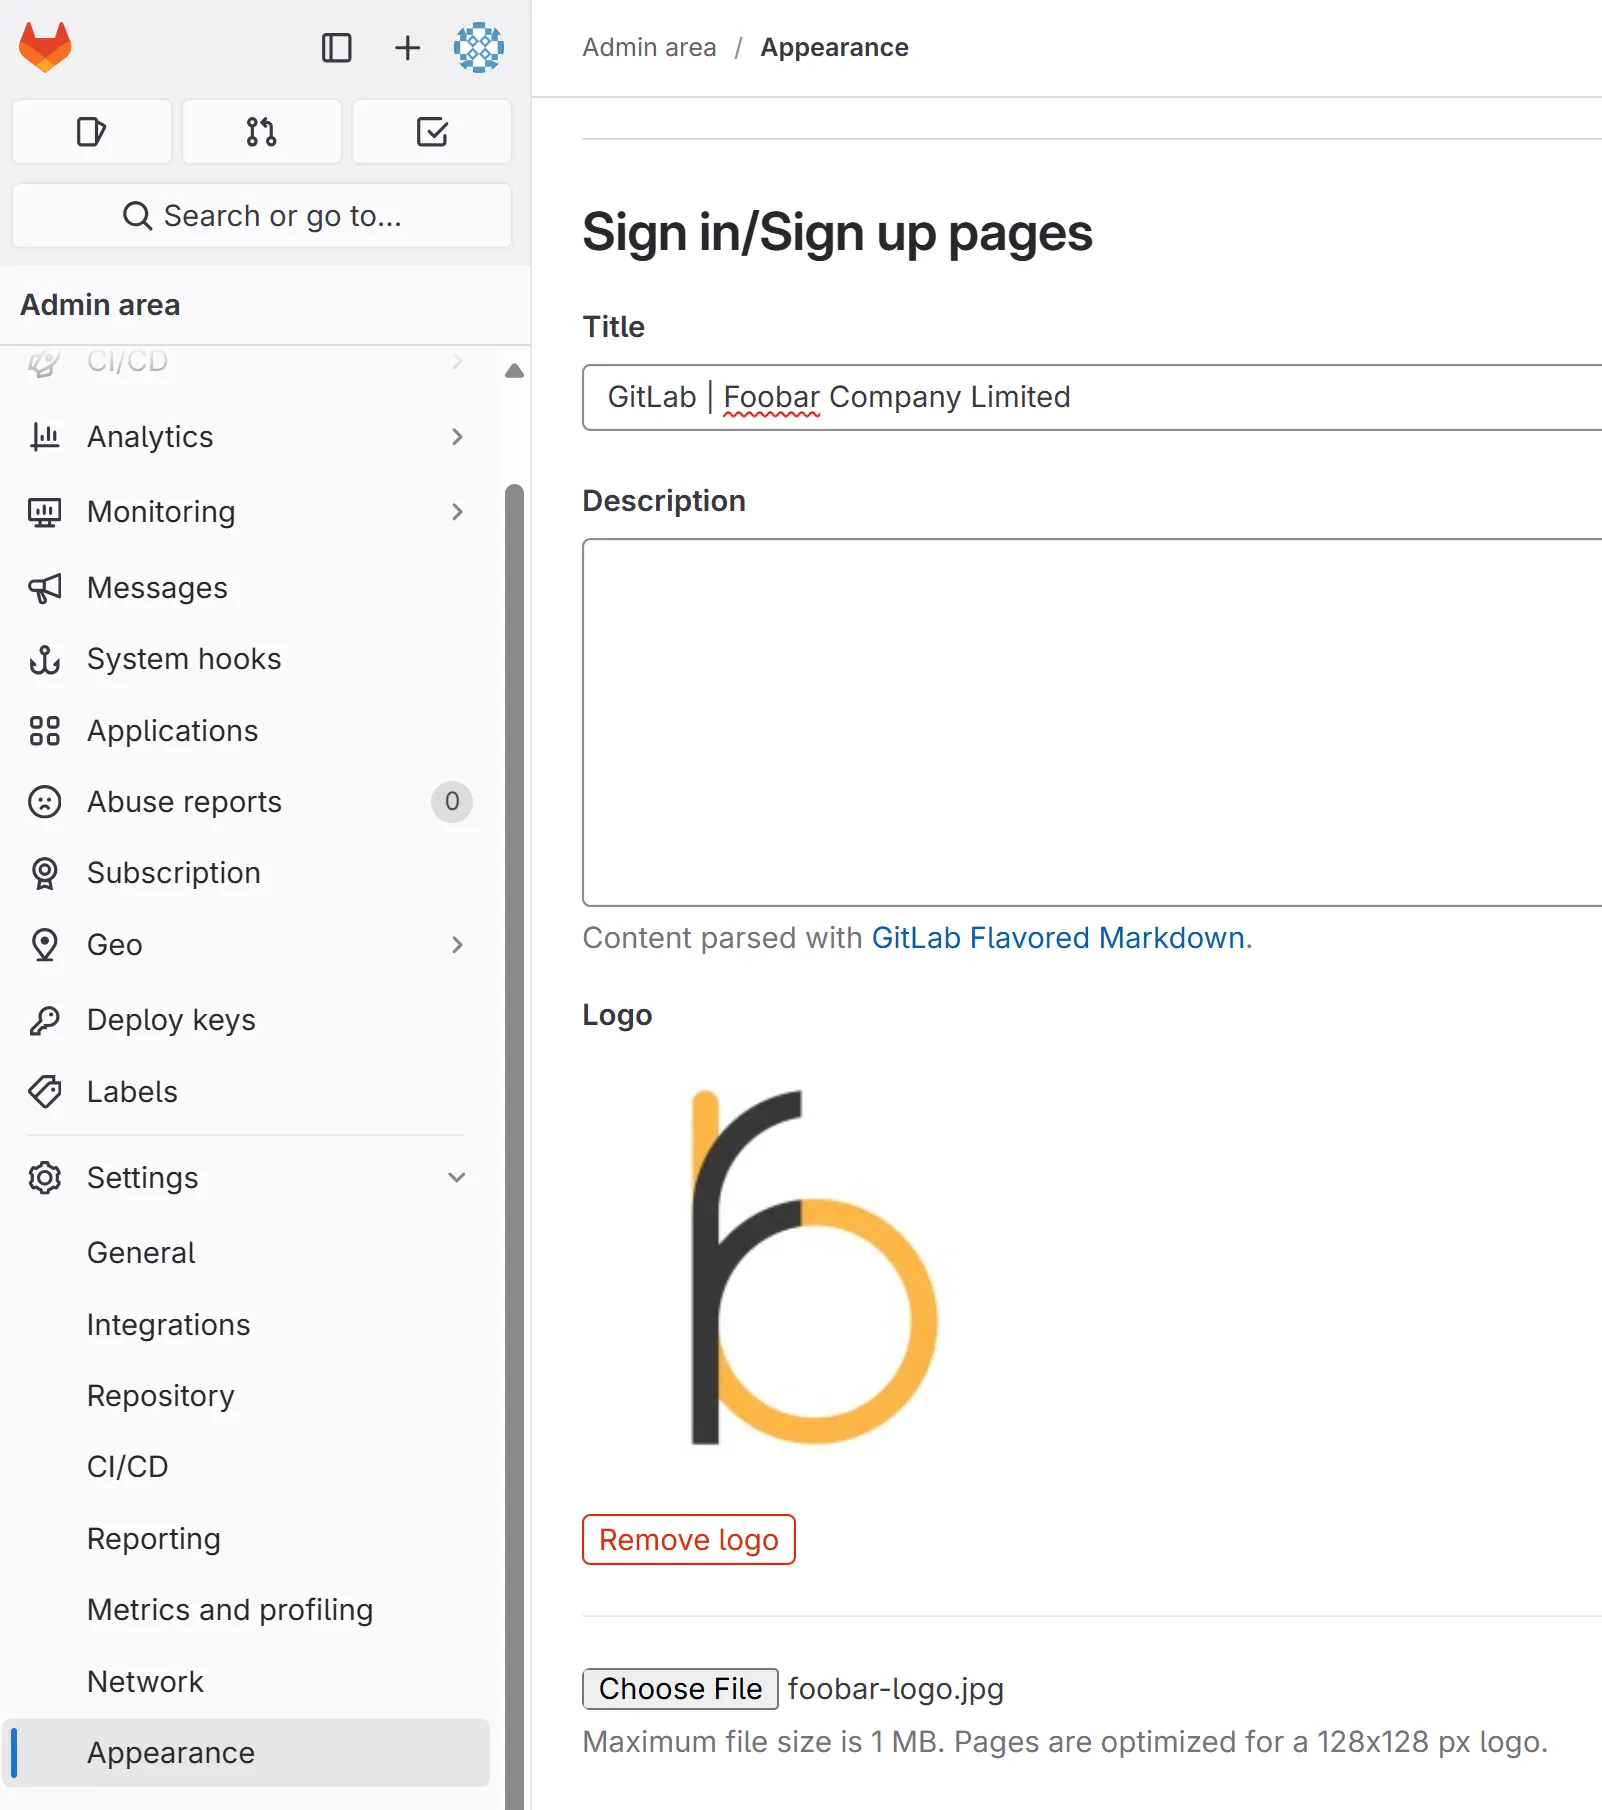
Customize Site Information: Go to
Admin Area>Settings>Appearance- Sign in/Sign up pages :
GitLab | <Customer Name> - Sign in/Sign up pages > Logo : Upload Logo of Customer
- Navigation bar : Upload Logo of Customer
- Sign in/Sign up pages :
Disable Instance-wide Auto DevOps
Section titled “Disable Instance-wide Auto DevOps”Auto DevOps feature that built-in with GitLab may cause unexepected behaviour when integrating with Opstella, you need to disable it.
-
Sign In to GitLab Instance with
rootLocal Account and then Go toAdmin Area>Settings>CI/CD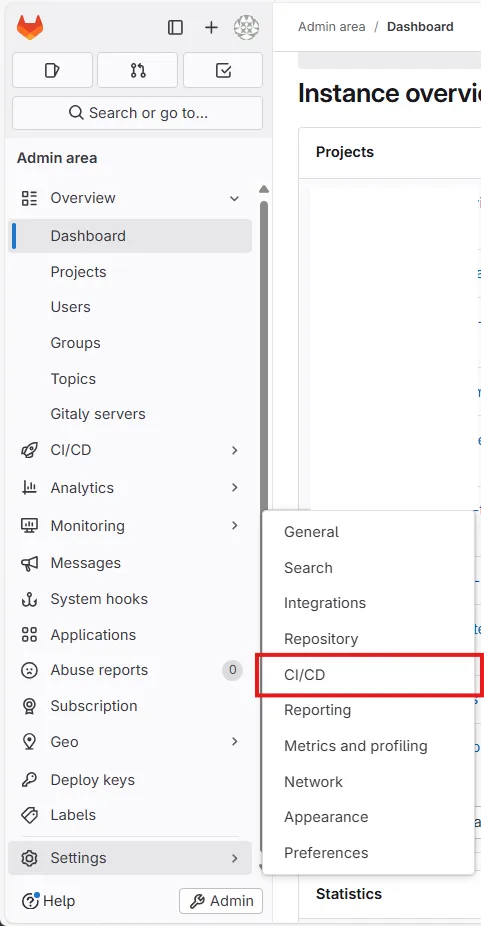
-
Open Continuous Integration and Deployment and untick
Default to Auto DevOps pipeline for all projects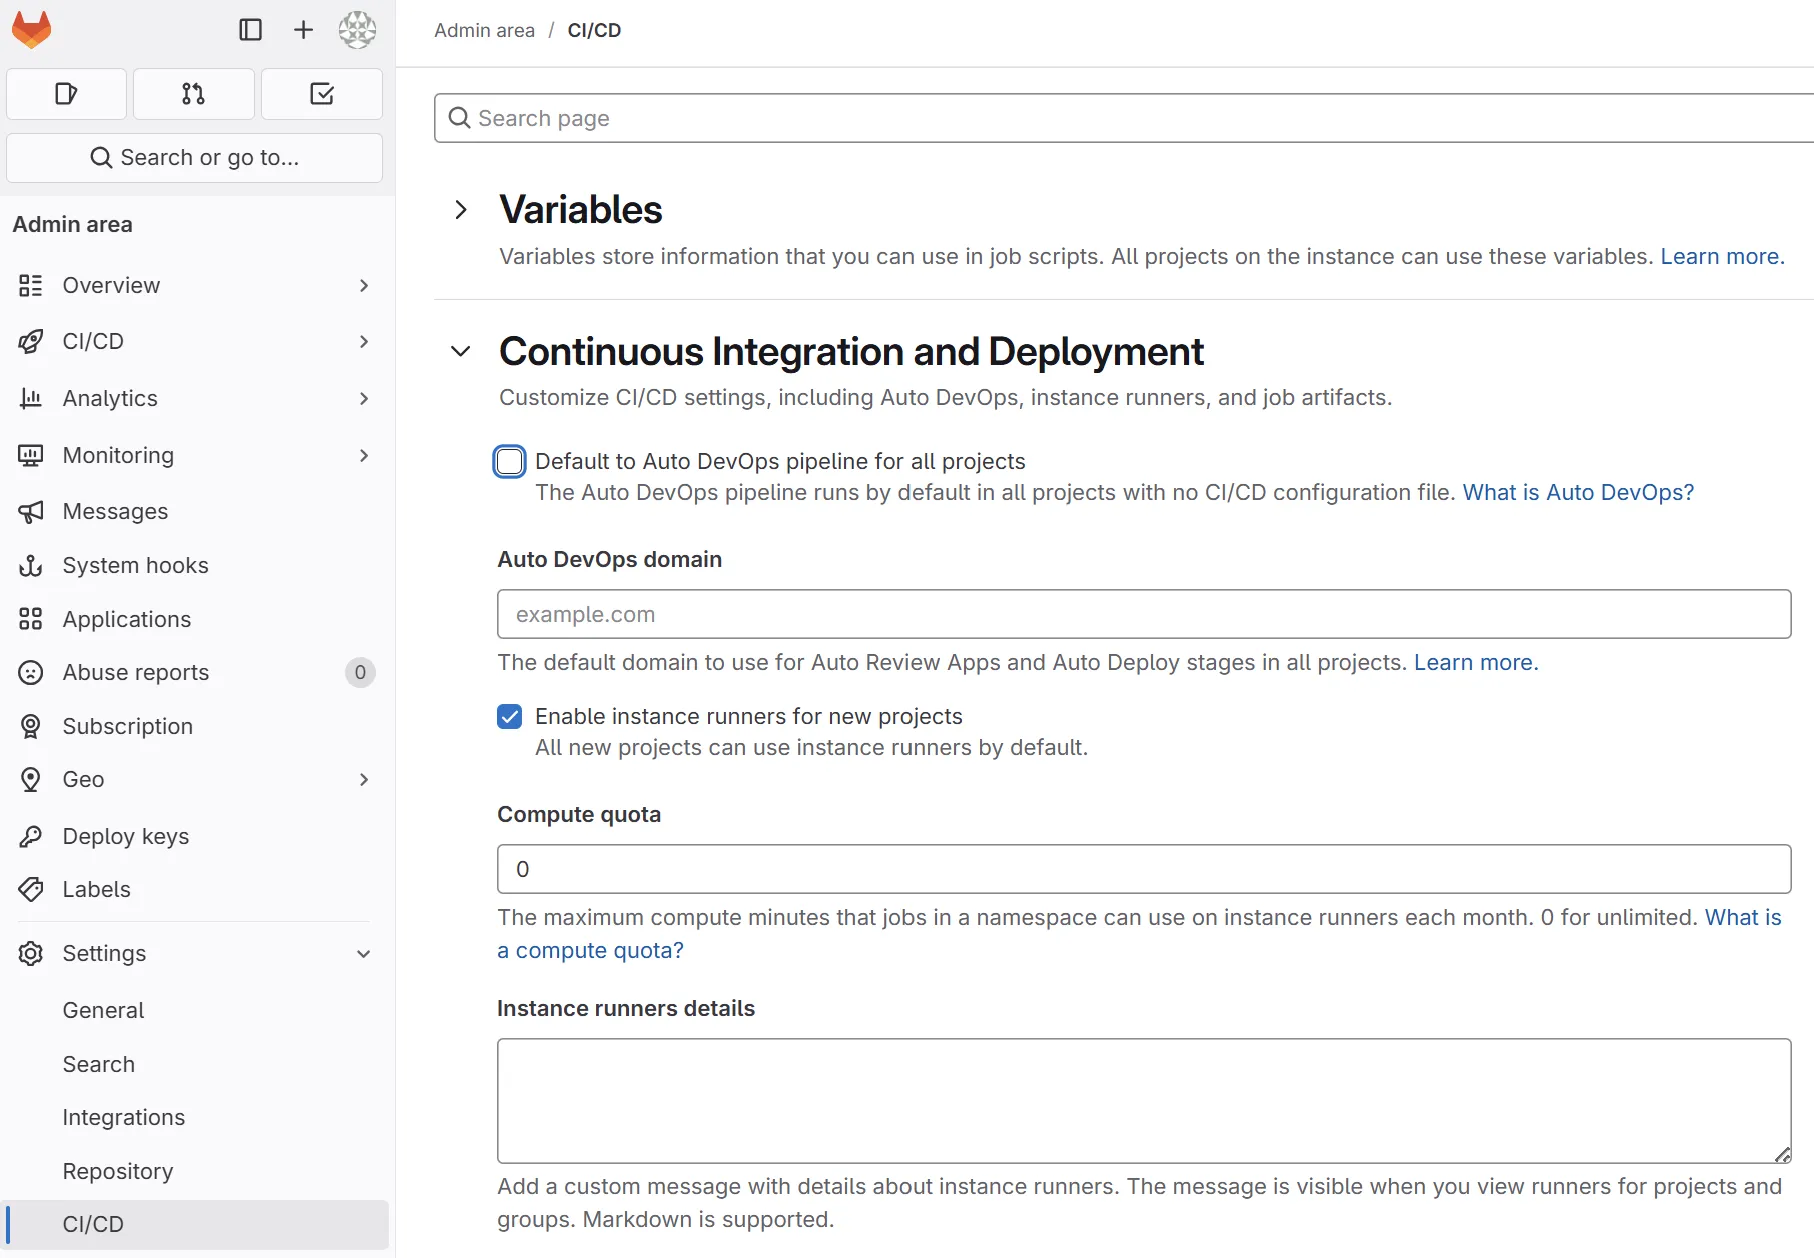
-
Scroll down and click
Save changes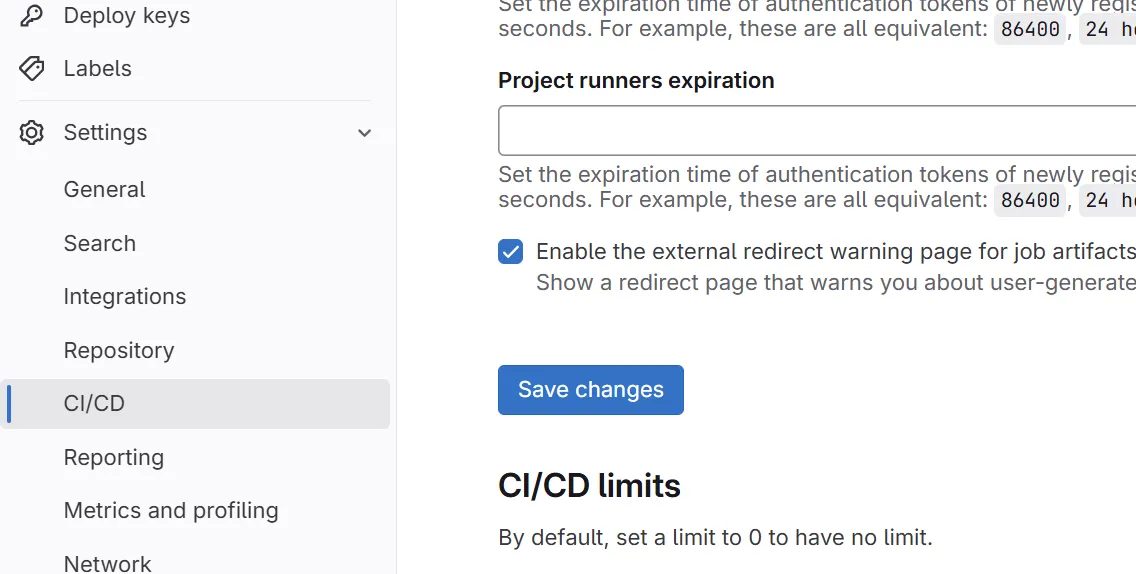
Alternative: configure with gitlab-rails runner
Section titled “Alternative: configure with gitlab-rails runner”Everything on this page is also reachable from the GitLab host itself, which is the way through when the web interface is not available yet (no DNS, ports not open, certificate not trusted).
# 1. Disable instance-wide Auto DevOpsApplicationSetting.current.update!(auto_devops_enabled: false)
# 2. Create the Access Token for Opstellawant = %w[api read_api read_user create_runner k8s_proxy read_repository          write_repository ai_features sudo admin_mode read_service_ping]use  = want & Gitlab::Auth.all_available_scopes.map(&:to_s)
root = User.find_by_username('root')t = root.personal_access_tokens.create!(name: 'opstella-platform', scopes: use, expires_at: 365.days.from_now.to_date)File.write('/tmp/pat.line', "export GITLAB_OPSTELLA_PLATFORM_TOKEN='#{t.token}'\n")File.chmod(0600, '/tmp/pat.line')sudo gitlab-rails runner -e production /tmp/gl-setup.rb
# move the token to the Bastion Host without printing it, then remove the sourcesudo cat /tmp/pat.line >> $BASE_WORKING_DIR/shell-values/tools/gitlab.vars.shsudo rm -f /tmp/pat.line /tmp/gl-setup.rbVerify:
sudo gitlab-rails runner -e production \ 'puts ApplicationSetting.current.auto_devops_enabled; puts PersonalAccessToken.find_by(name: "opstella-platform")&.expires_at'Finished?
Use the below navigation to proceed