

This is the Experimental version (Latest). It is under active development and may change. For the most reliable documentation, use the version selector in the top-right to switch to Stable, or click here to go to the Stable version's homepage.
Activate Opstella License
อัพเดทล่าสุด:
เนื้อหานี้ยังไม่มีในภาษาของคุณ
Prerequisites
Section titled “Prerequisites”The license file downloaded below is generated from the initial activation key, so that key has to be installed first:
-
You received an initial activation key — see Request Opstella Initial Activation Key.
-
It is stored at
$HOME/opstella-installation/opstella-configs/opstella-core-init-license.txt. -
The Secret exists and
opstella-corehas restarted since it was created:Terminal window kubectl get secret opstella-core-init-license --namespace opstella-system \-o jsonpath='{.data.config\.txt}' | wc -c💡 A non-zero length. If the Secret is missing, the volume in
opstella-core-values.yamlis declaredoptional: true, so the mount point becomes an empty directory rather than stopping the Pod, andDownload License Filefails with a base64 error that mentions neither the file nor the license:binascii.Error: Invalid base64-encoded string: number of data characters (41)cannot be 1 more than a multiple of 4That message is
get_config_value()returning the stringError: ...instead of raising, and the caller base64-decoding it.
Gather Activation Information
Section titled “Gather Activation Information”-
Go to Opstella Management Admin Panel
opstella-backend.${BASE_DOMAIN}/admin -
Login with Opstella Core Credentials
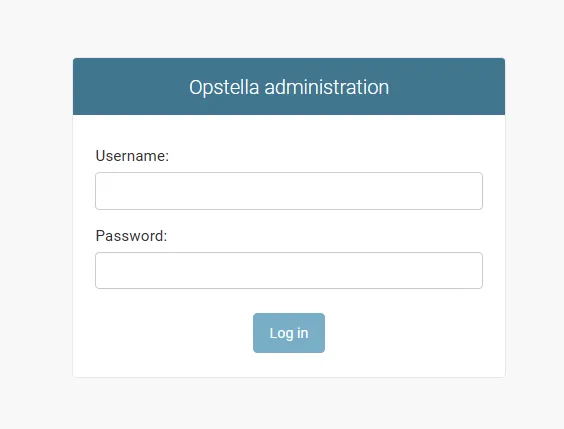
-
Go to
Workers>Kubernetes Clusters>Download License File(On the Top Right)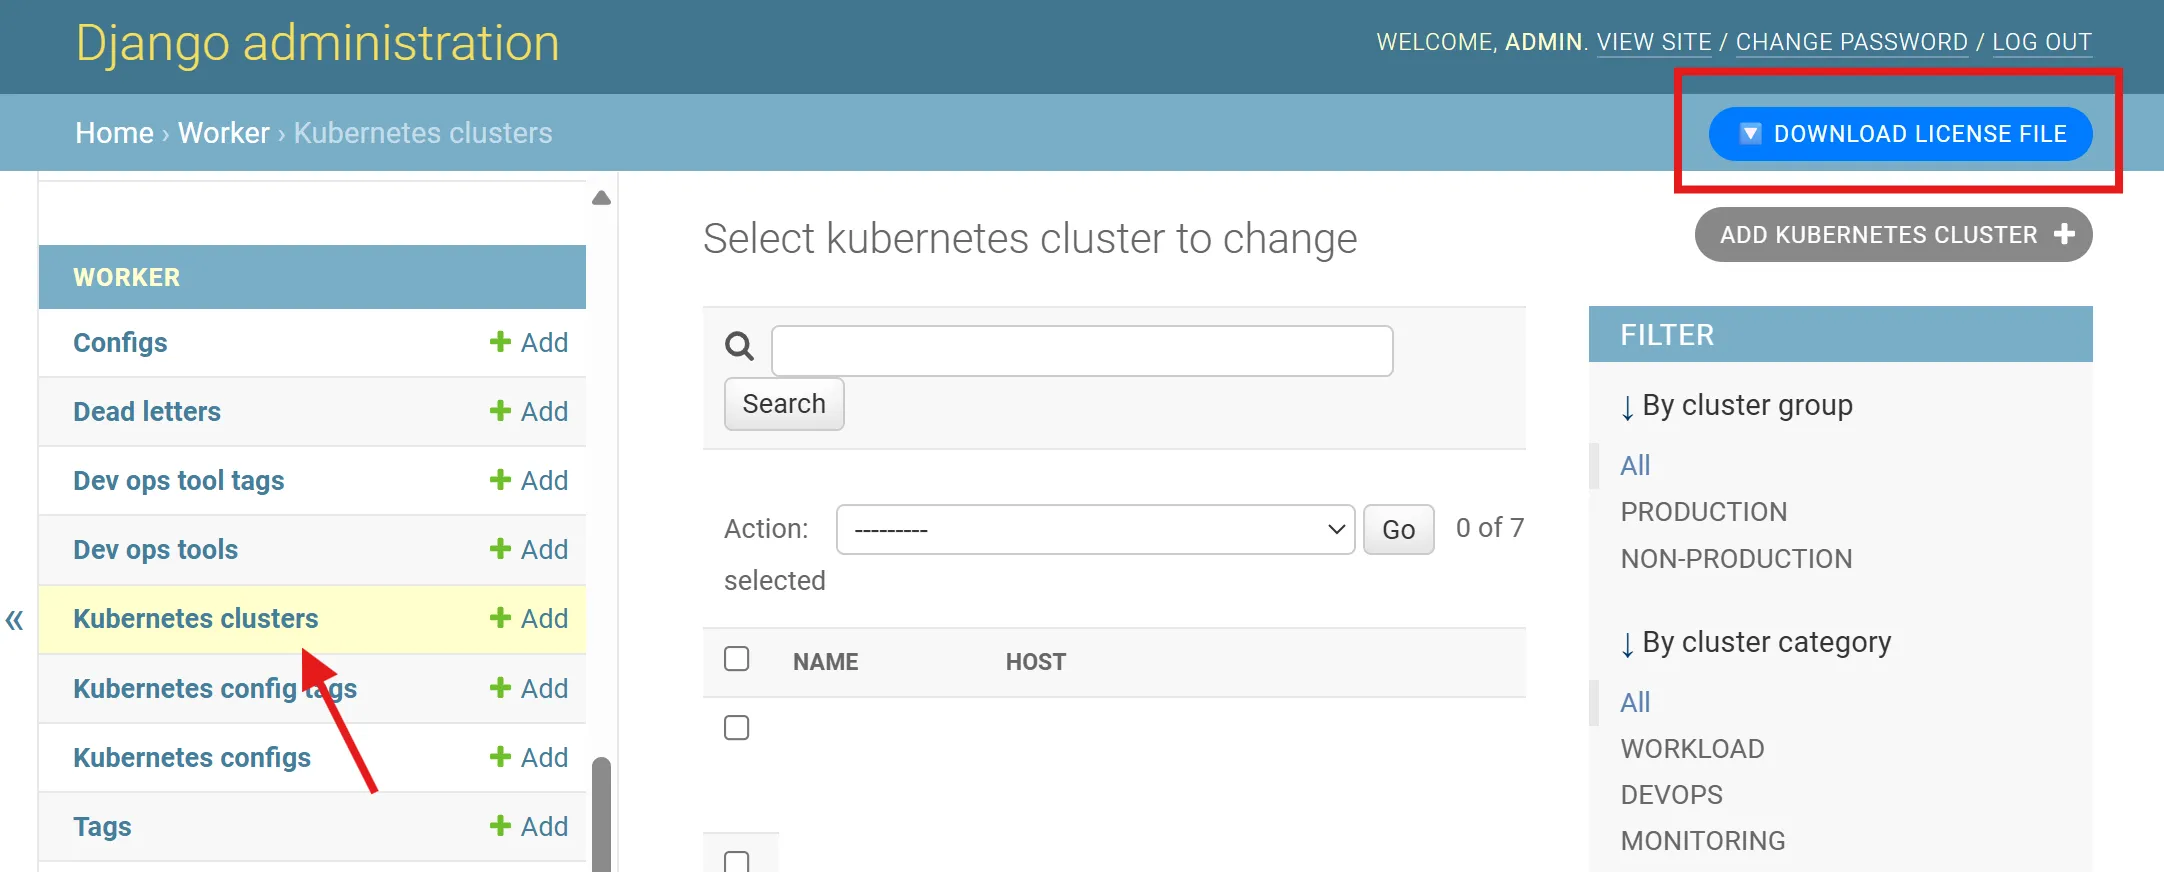
-
Request Opstella Sales/Product Manager and submit the downloaded license file to generate second activation key
You will retrieve a cryptic Text File back from Sales/Opstella Team.
License Activation
Section titled “License Activation”-
Connect to
🟢 ManagementKubernetes Cluster ; i.e w/ Kubeconfig FileTerminal window source $BASE_WORKING_DIR/shell-values/kubernetes/management_cluster.vars.sh -
Store the retrieve file on
$BASE_WORKING_DIR/assets/opstella-configs/ok8s-integration-info.txt -
Install the second activation key with Kubernetes Secret
Terminal window kubectl create secret generic ok8s-integration-info --namespace opstella-system \--from-file=config.txt=$BASE_WORKING_DIR/assets/opstella-configs/ok8s-integration-info.txt -
Annotate
ok8s-integrationDeploymentTerminal window kubectl annotate --namespace opstella-system deployment ok8s-integration reloader.stakater.com/auto="true" -
Try to Delete
ok8s-integrationPod, Make sure it is restarted and come back Ready.
Post Activation
Section titled “Post Activation”License Testing
Section titled “License Testing”-
Go to Opstella UI (Front-end)
opstella.${BASE_DOMAIN} -
Login with
opstellaCrendentials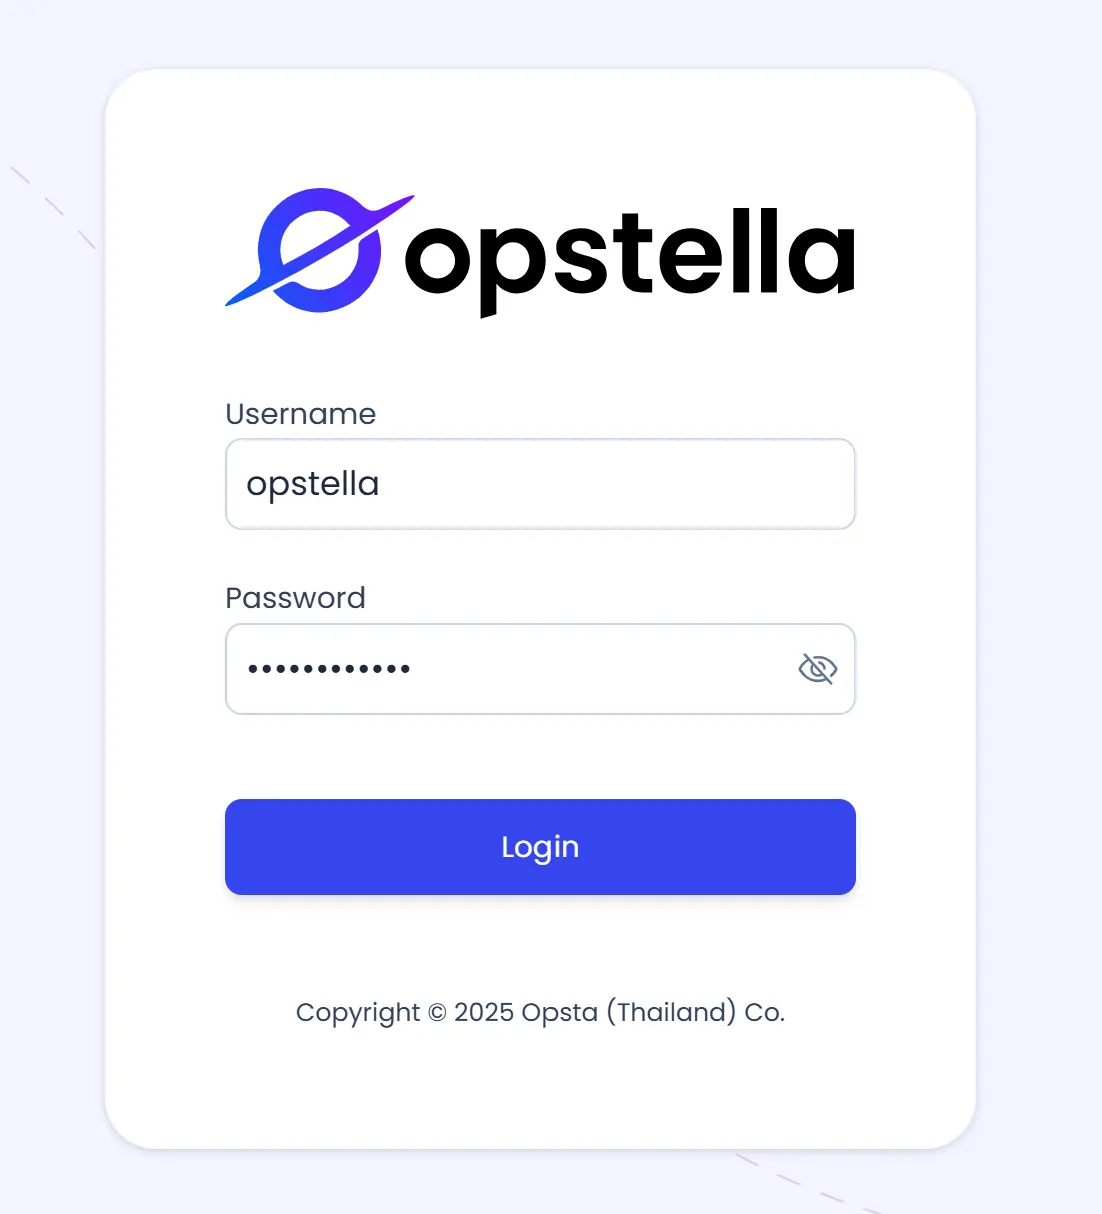
-
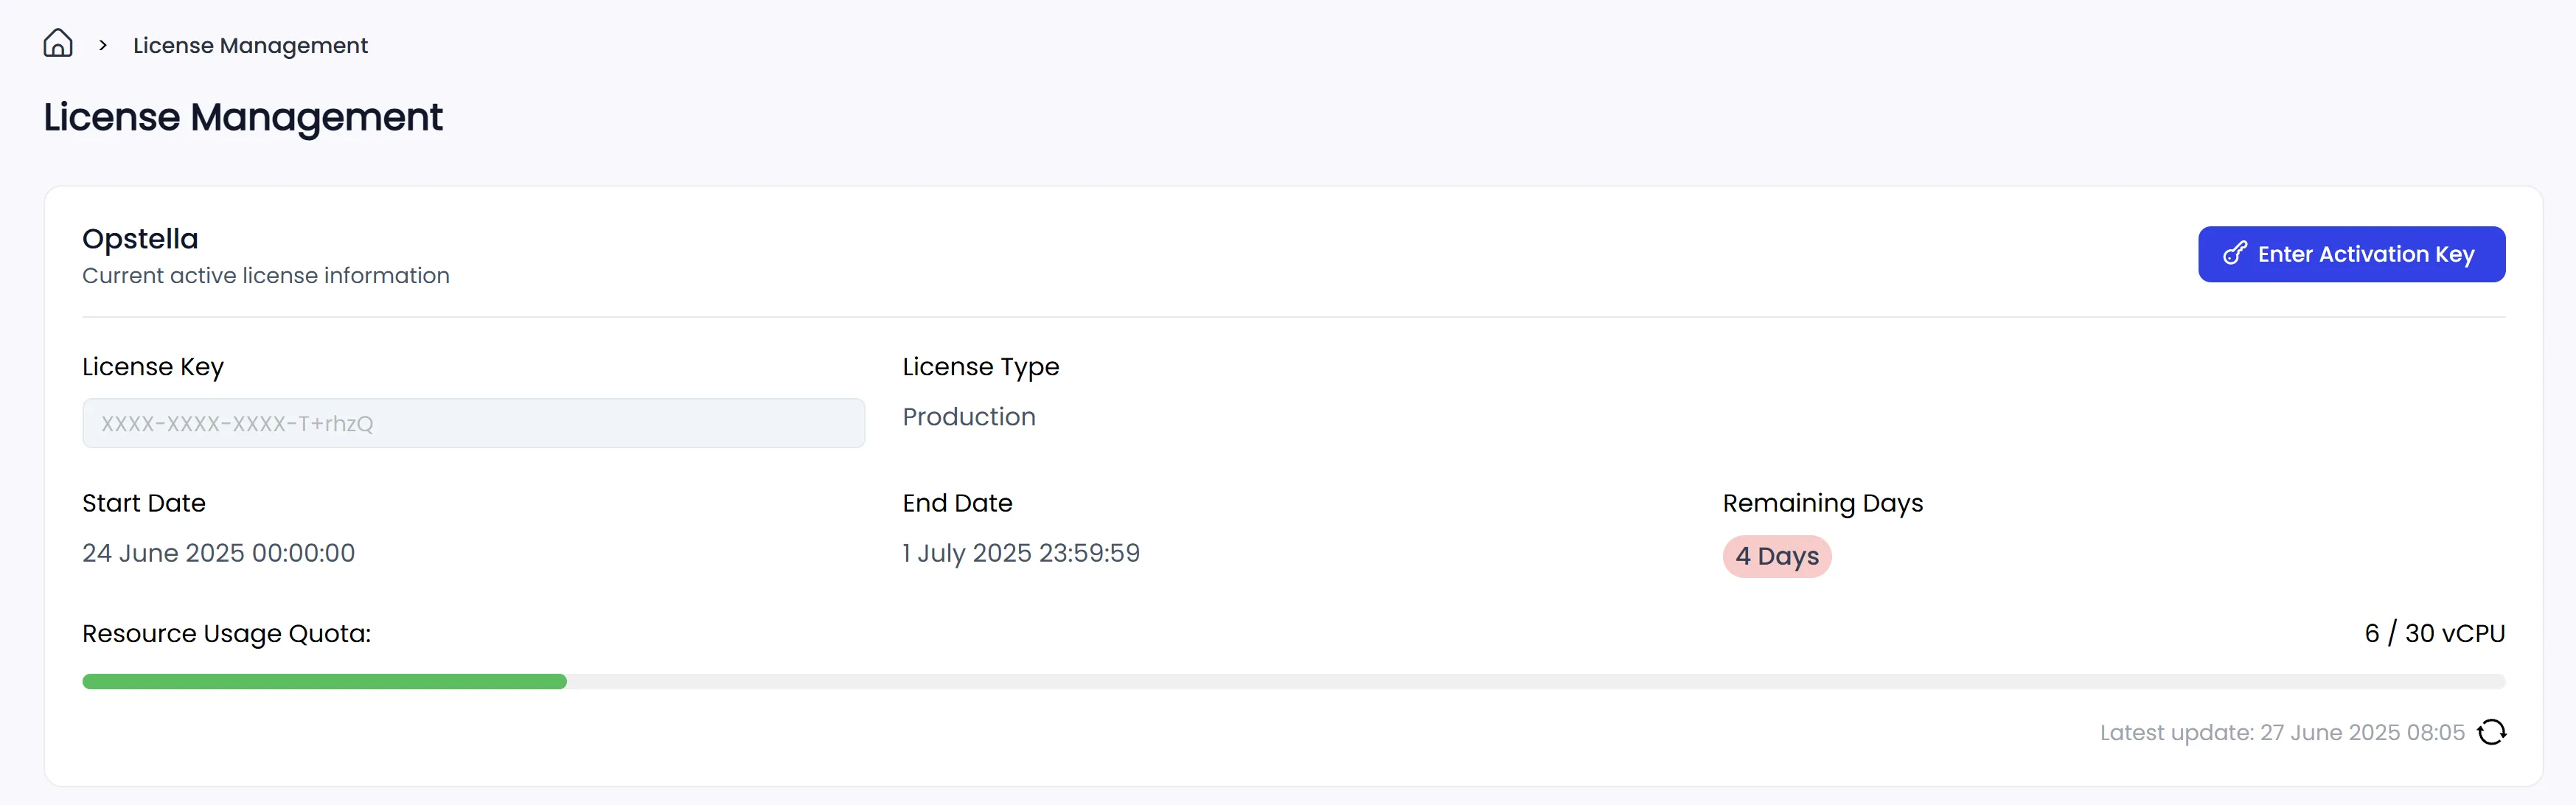
Go to
LicensesTab on the Left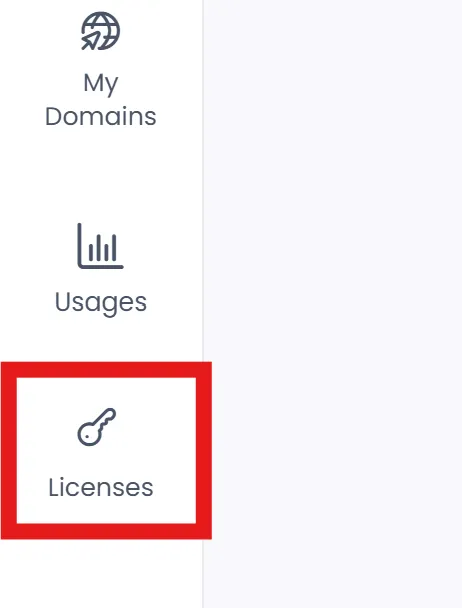
-
License should be Activated
Opstella Usage Testing
Section titled “Opstella Usage Testing”-
Go to Opstella UI (Front-end)
opstella.${BASE_DOMAIN} -
Login with
opstellaCrendentials -
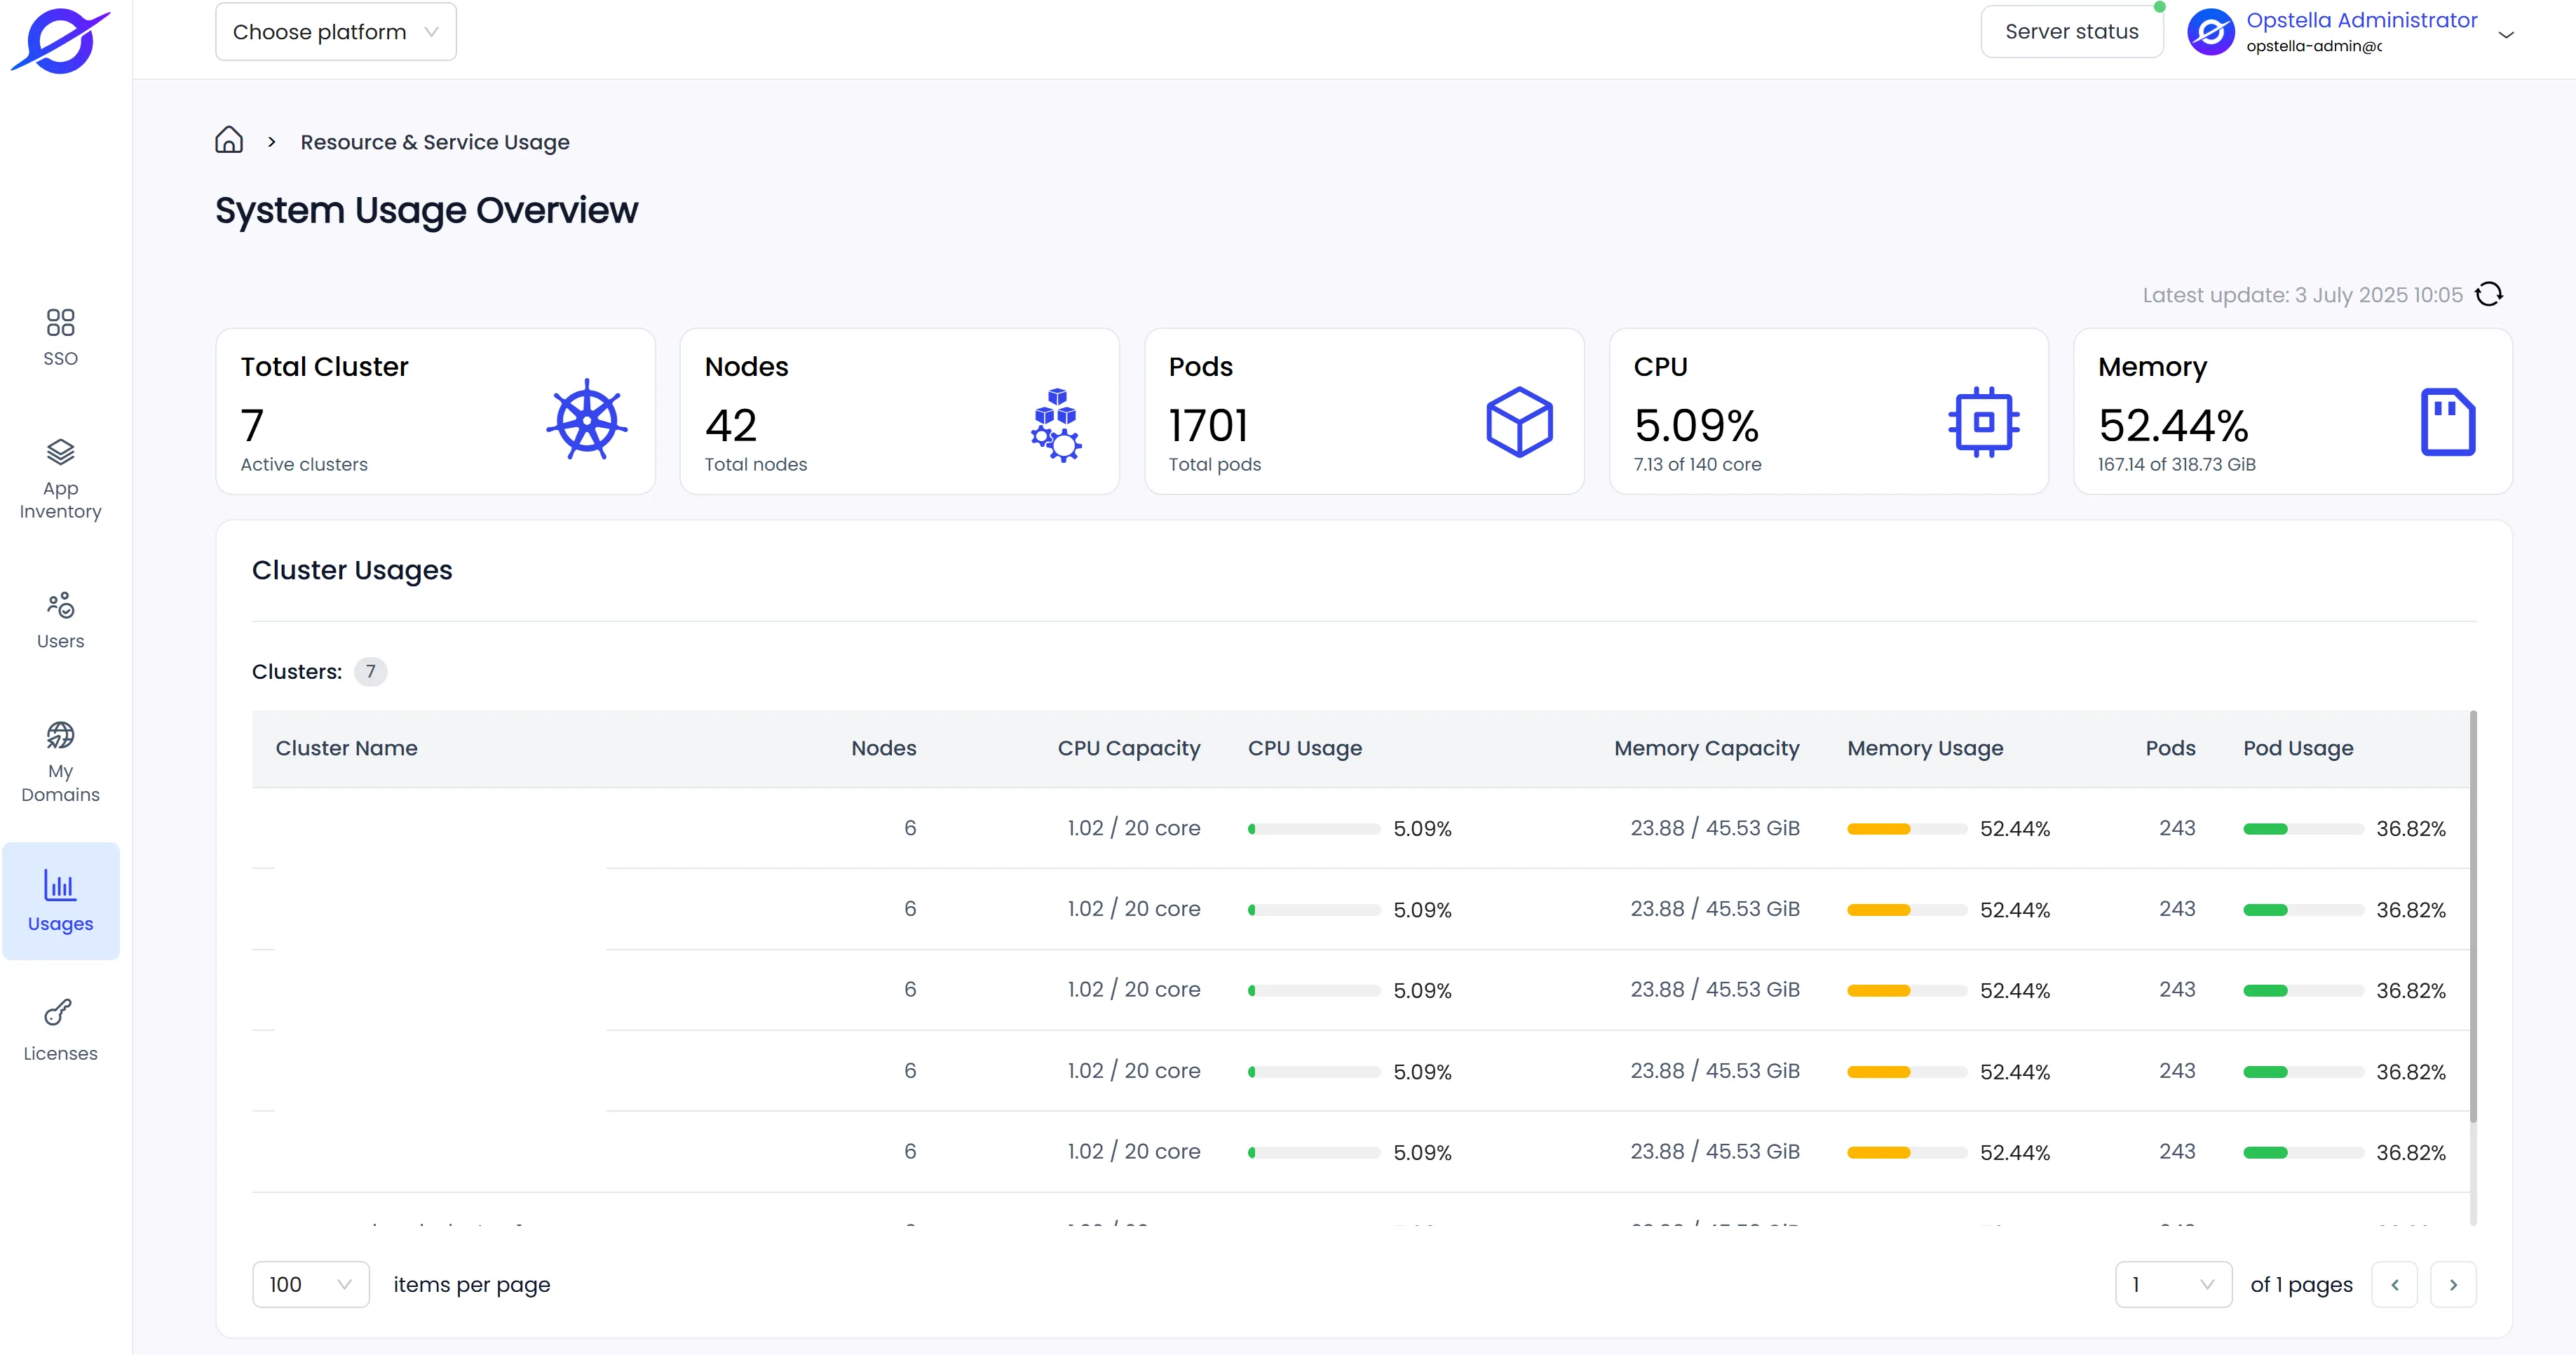
Go to
UsagesTab on the Left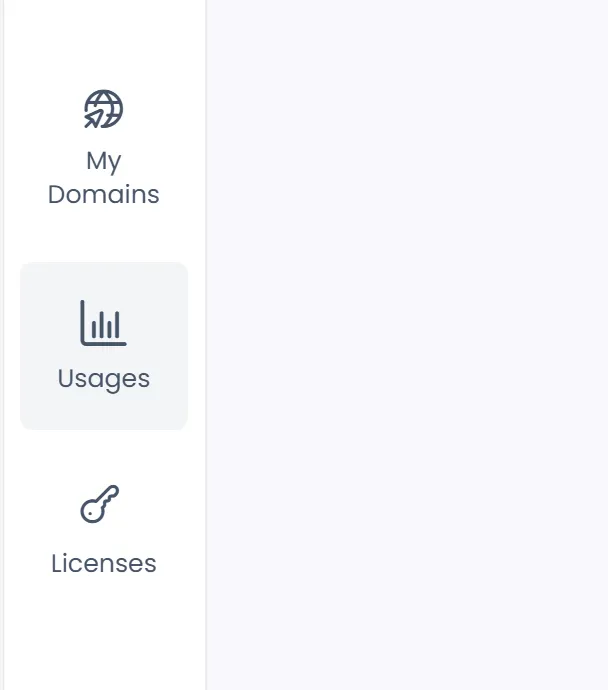
-
Usages Page should display information correctly
Finished?
Section titled “Finished?”Next step, will begin the End-to-End Testing, Good luck! … 📝