This is the Experimental version (Latest). It is under active development and may change. For the most reliable documentation, use the version selector in the top-right to switch to Stable, or click here to go to the Stable version's homepage.
Apply Opstella Core Configuration
อัพเดทล่าสุด:
เนื้อหานี้ยังไม่มีในภาษาของคุณ
Apply to Opstella Core with Management Admin Panel
Section titled “Apply to Opstella Core with Management Admin Panel”-
Go to Opstella Management Admin Panel
opstella-backend.${BASE_DOMAIN}/admin -
Login with Opstella Core Credentials
-
Go to
Workers>Configs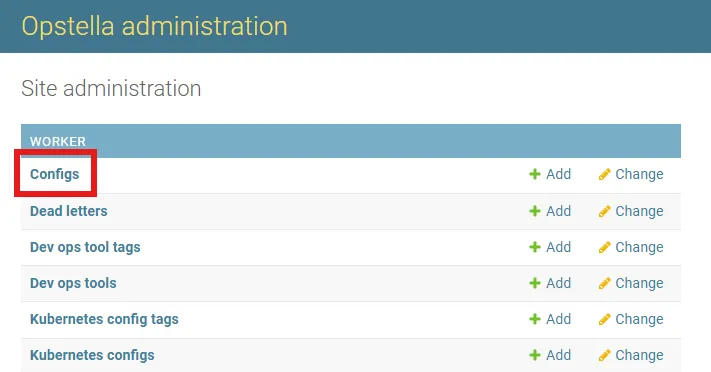
-
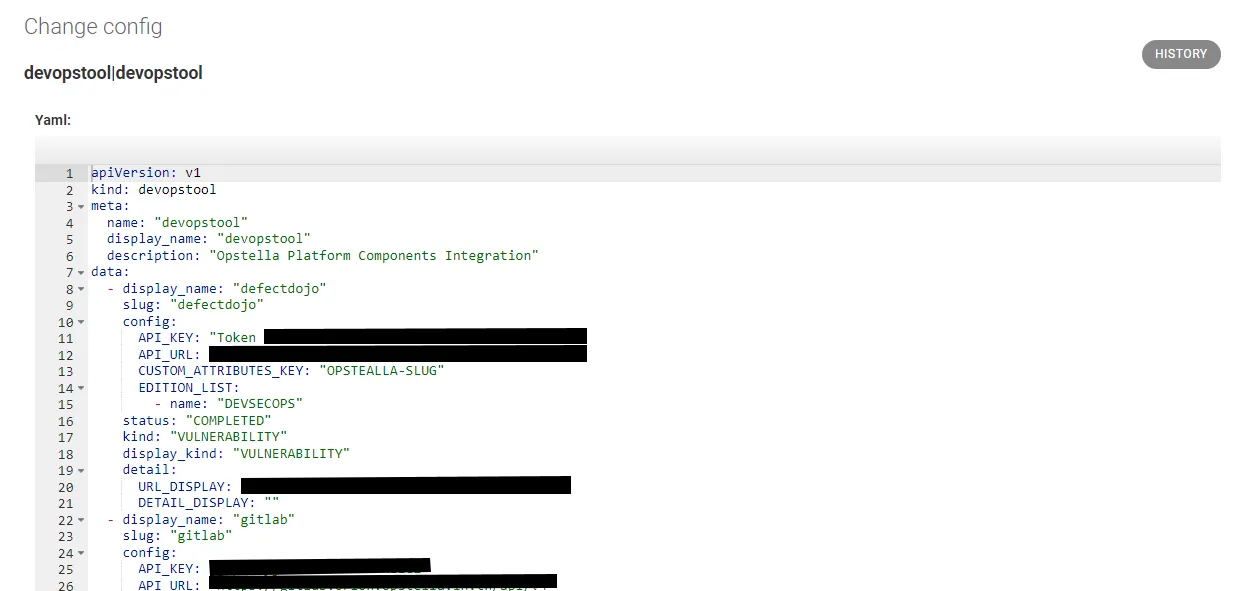
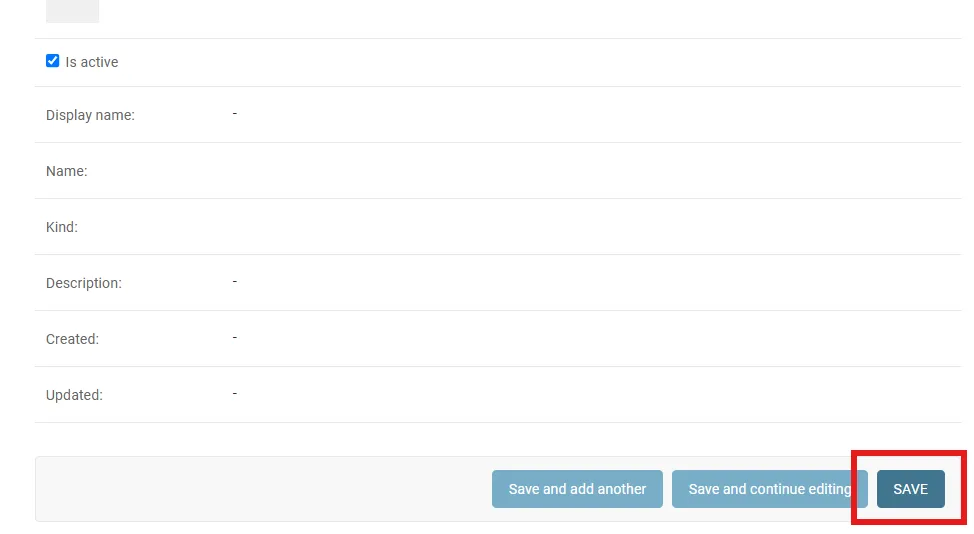
Add Config +(Top Right) and paste contents ofopstella-backend-devopstool.yamlfordevopstoolkind and clickSavein the buttom page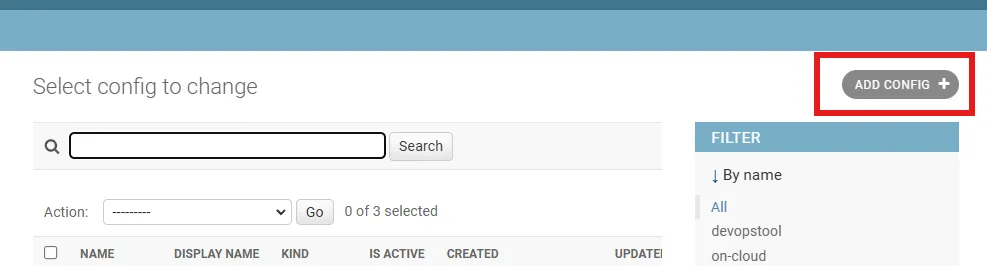
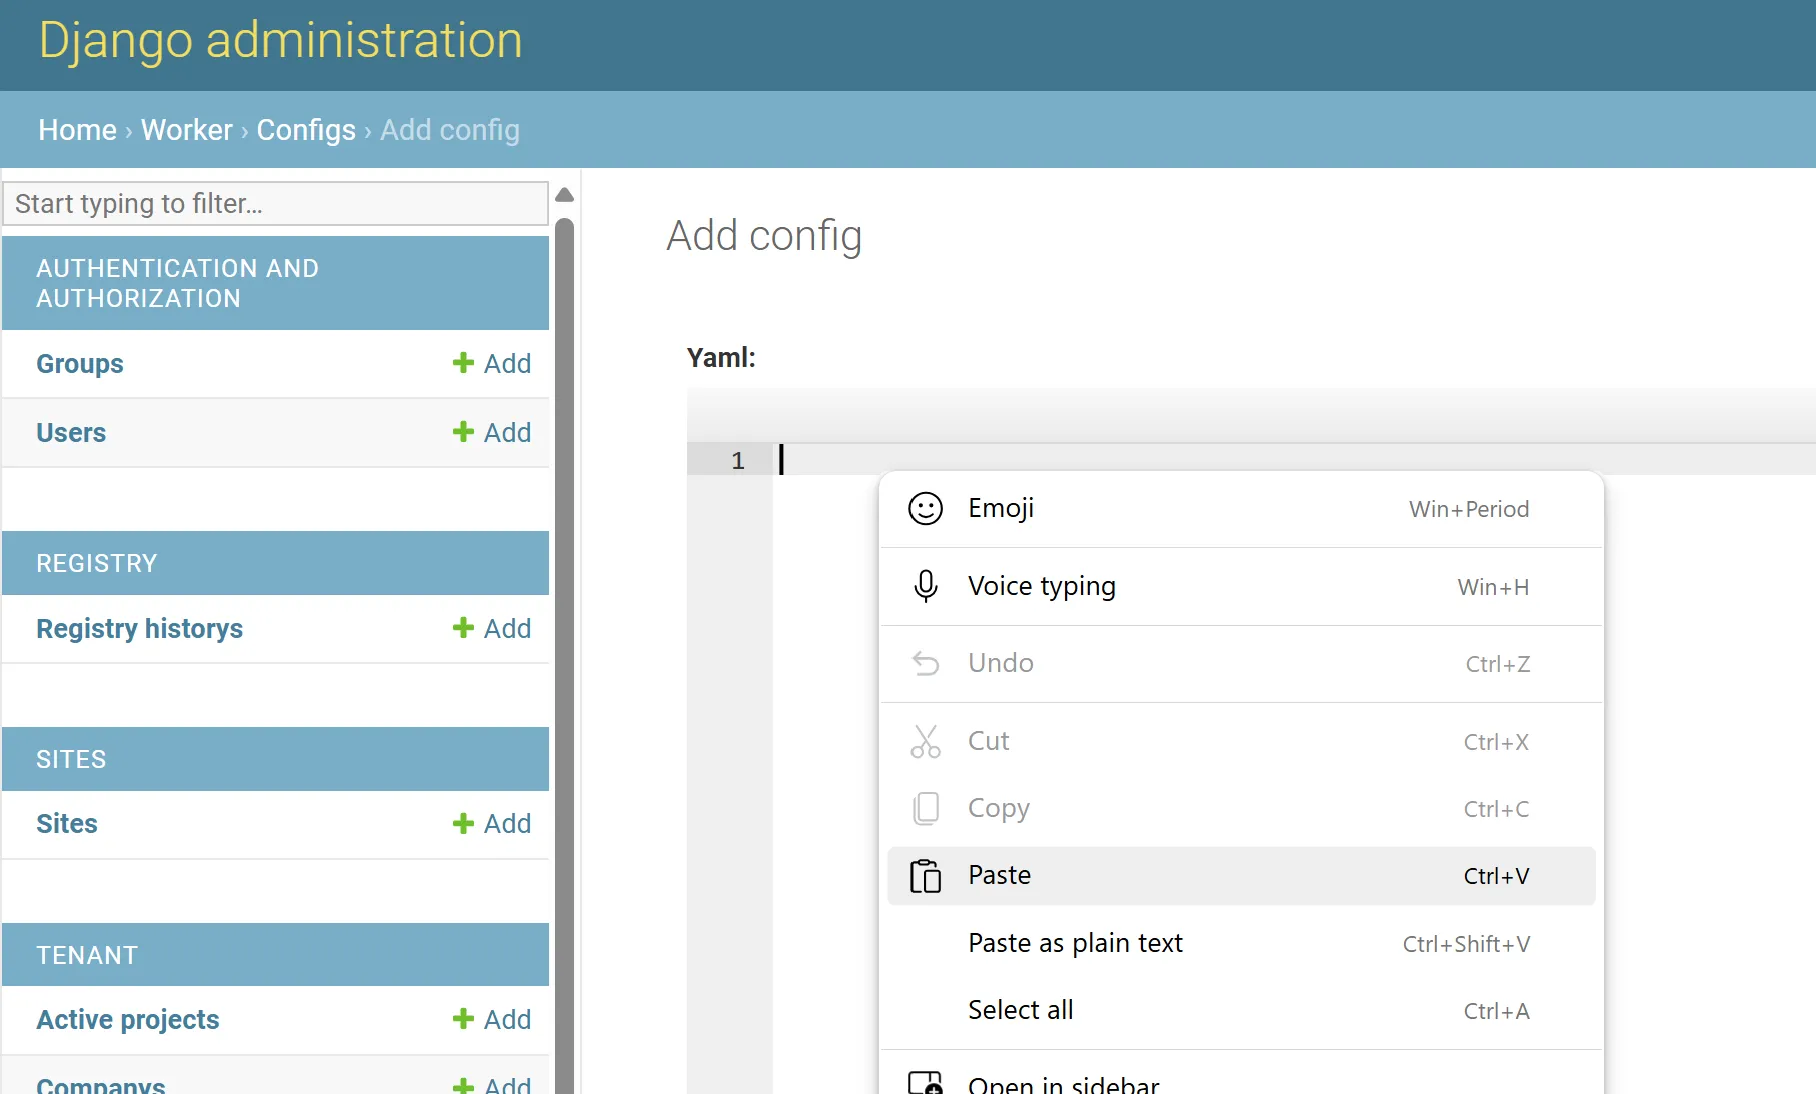
-
Add Config +(Top Right) and paste contents ofopstella-backend-tag-on-premise.yamlfortagkind and clickSavein the buttom page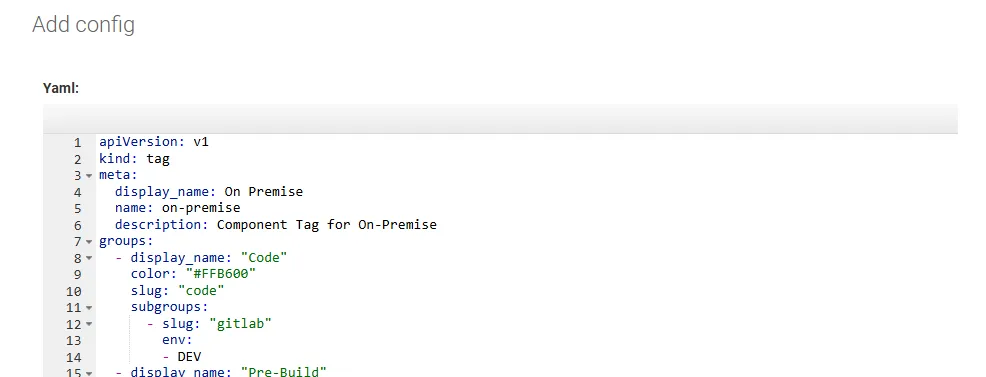
Register Kubernetes Clusters Records to New Table
Section titled “Register Kubernetes Clusters Records to New Table”-
Connect to
🟢 ManagementKubernetes Cluster ; i.e w/ Kubeconfig FileEnsure you have defined and loaded your Global Shell Variables as described in Shell Variables.
Terminal window source $HOME/opstella-installation/shell-values/kubernetes/management_cluster.vars.sh -
Use
kubectl execcommand to get intoopstella-core-XXXXXXXXX-YYYYYcontainer.Firstly, Get the name of Opstella Core (Back-end) Pod.
Terminal window kubectl get pods --namespace opstella-systemChange
opstella-core-XXXXXXXXX-YYYYYto be the one you get from getting pods list.Terminal window kubectl exec -i -t --namespace opstella-system pod/opstella-core-XXXXXXXXX-YYYYY -- sh -
Run Command
Terminal window python manage.py migrate_opstella_v5 -
Go back to Opstella Management Admin Panel
opstella-backend.${BASE_DOMAIN}/admin -
Go to
Workers>Kubernetes clusters, you will see a list of your Kubernetes Clusters configured to managed with Opstella.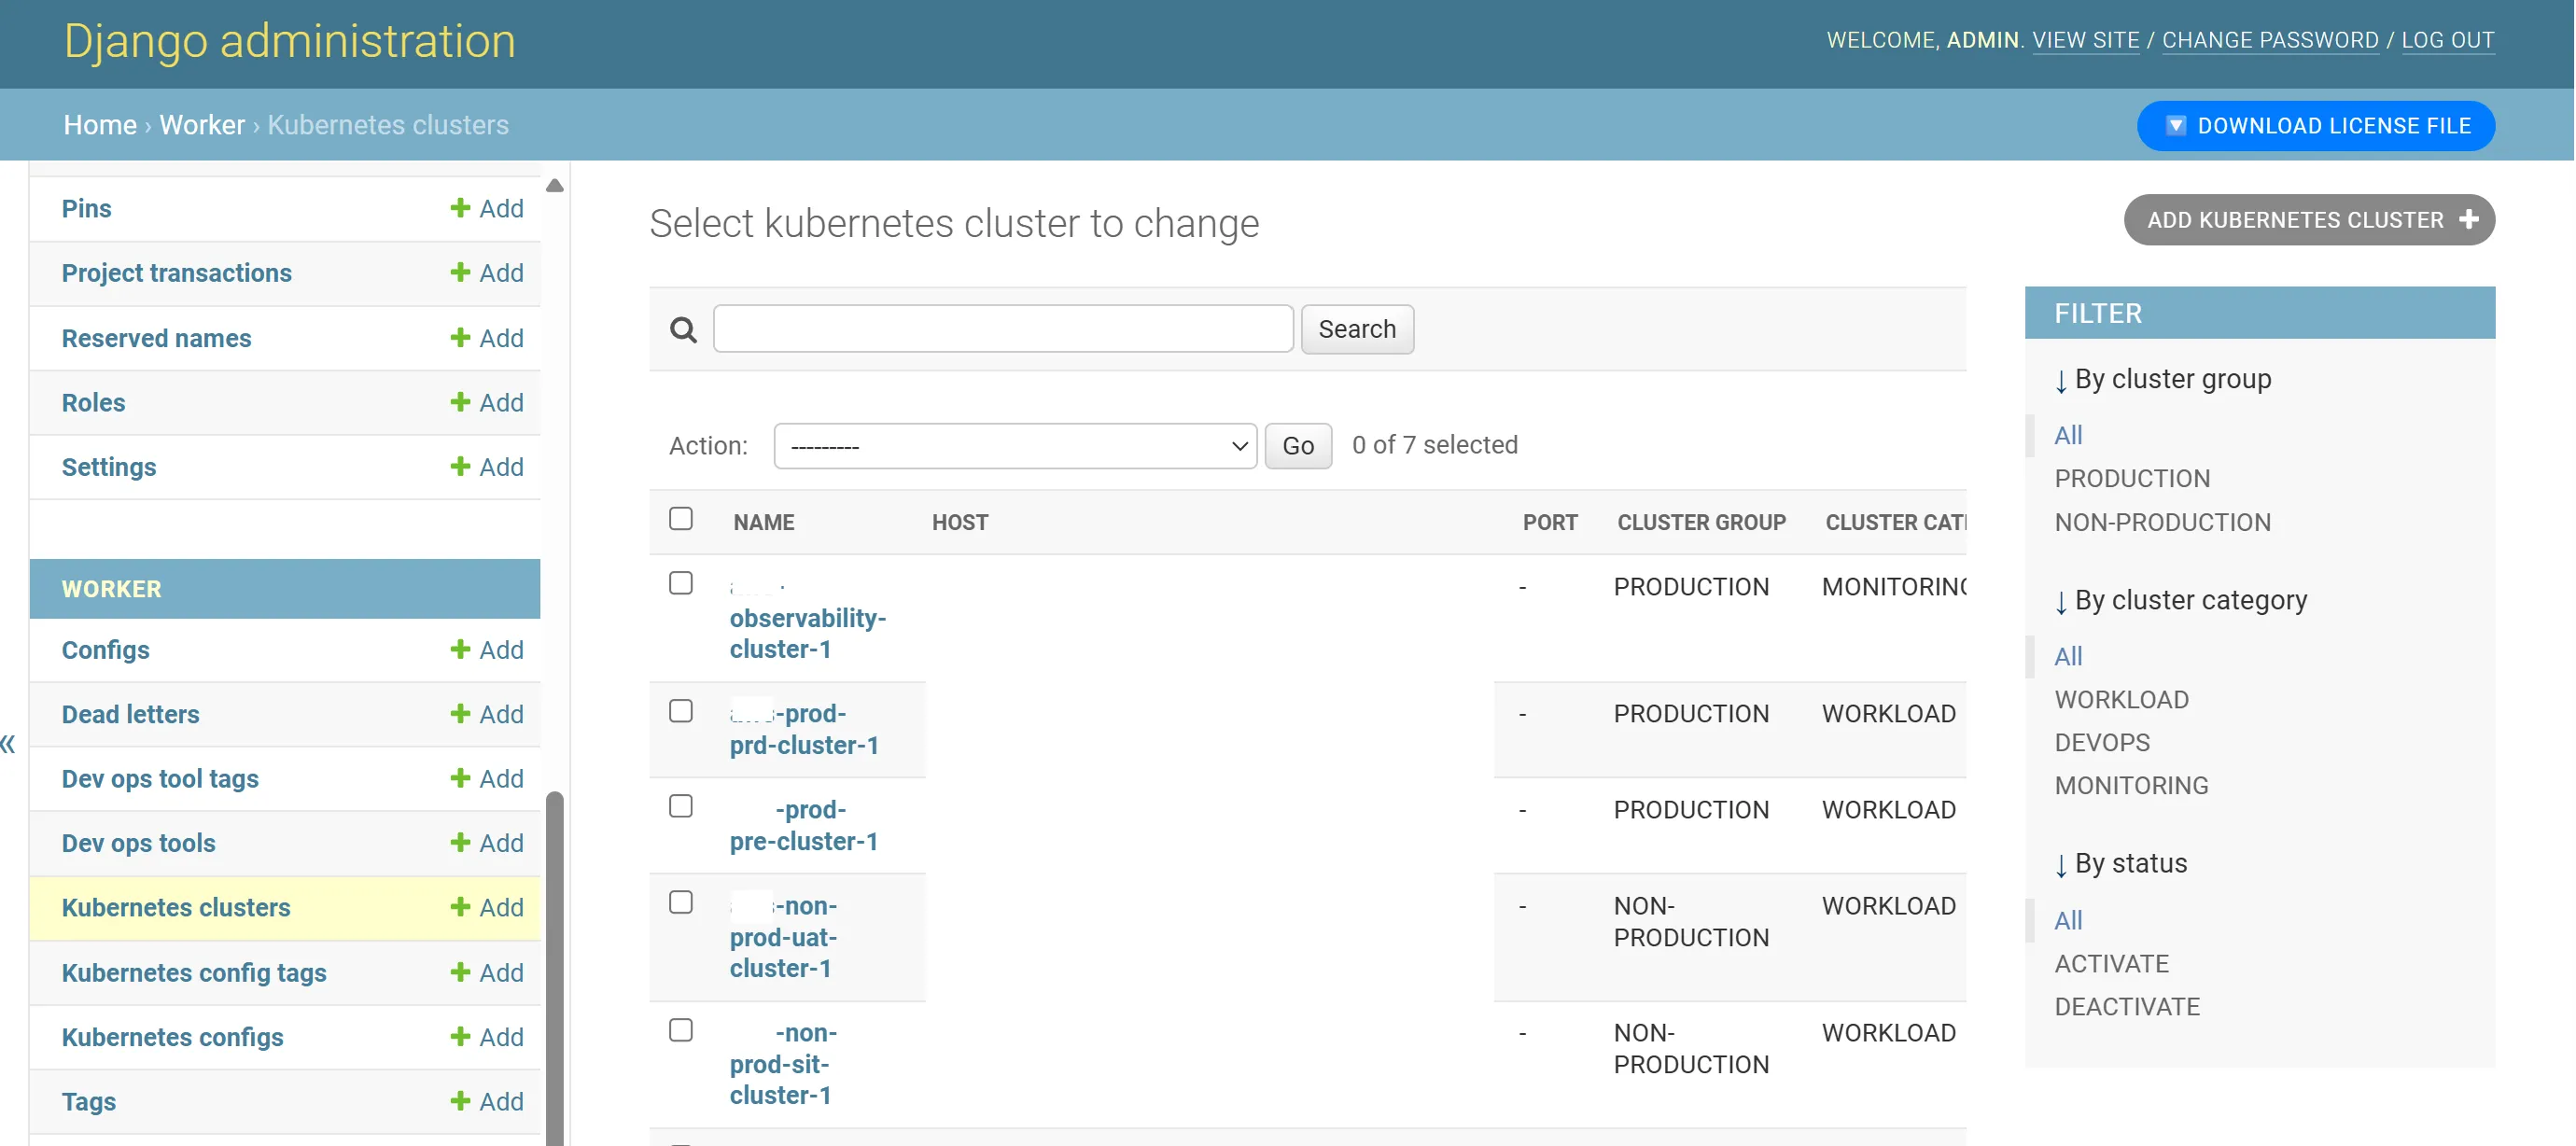
-
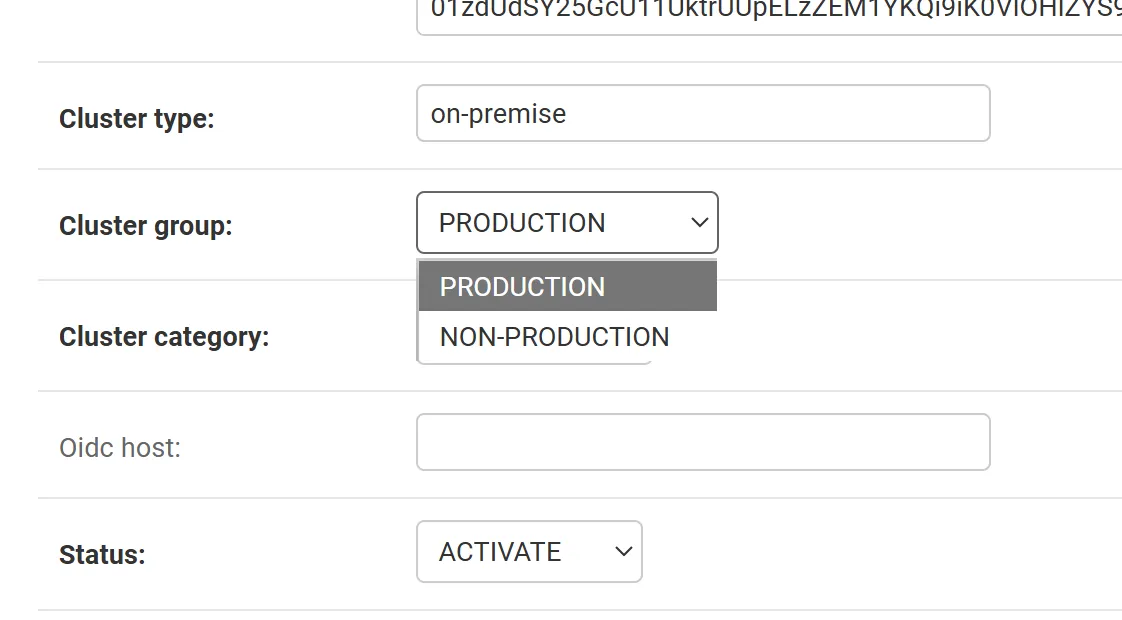
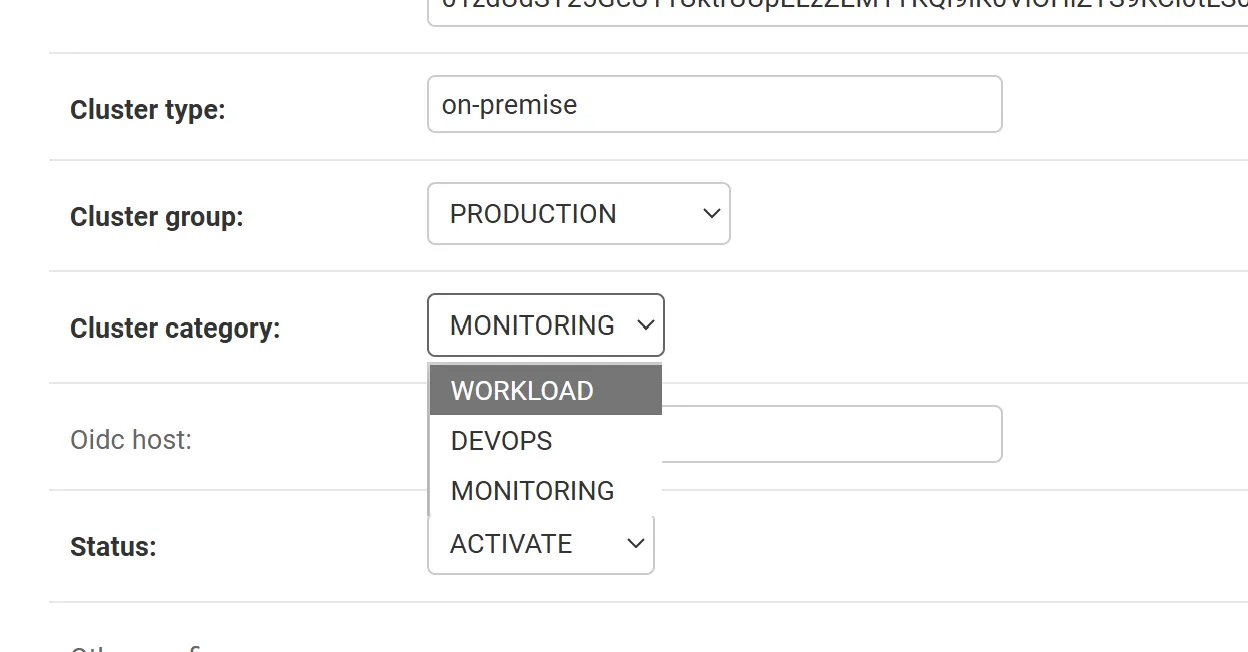
Click EACH of the record and assign Cluster group and Cluster category accordingly.
- 🟦 Non-Production DEV Workload Kubernetes Cluster
- Cluster group: NON-PRODUCTION
- Cluster category: WORKLOAD
- 🟥 Production PRD Workload Kubernetes Cluster
- Cluster group: PRODUCTION
- Cluster category: WORKLOAD
- 🟢 Management Kubernetes Cluster
- Cluster group: NON-PRODUCTION
- Cluster category: DEVOPS
Click
Saveon EACH of them. - 🟦 Non-Production DEV Workload Kubernetes Cluster
Add Keycloak to Tag Resource Manually
Section titled “Add Keycloak to Tag Resource Manually”-
Go to
Workers>Dev ops tool tags>Add dev ops tool tag +(Top Right)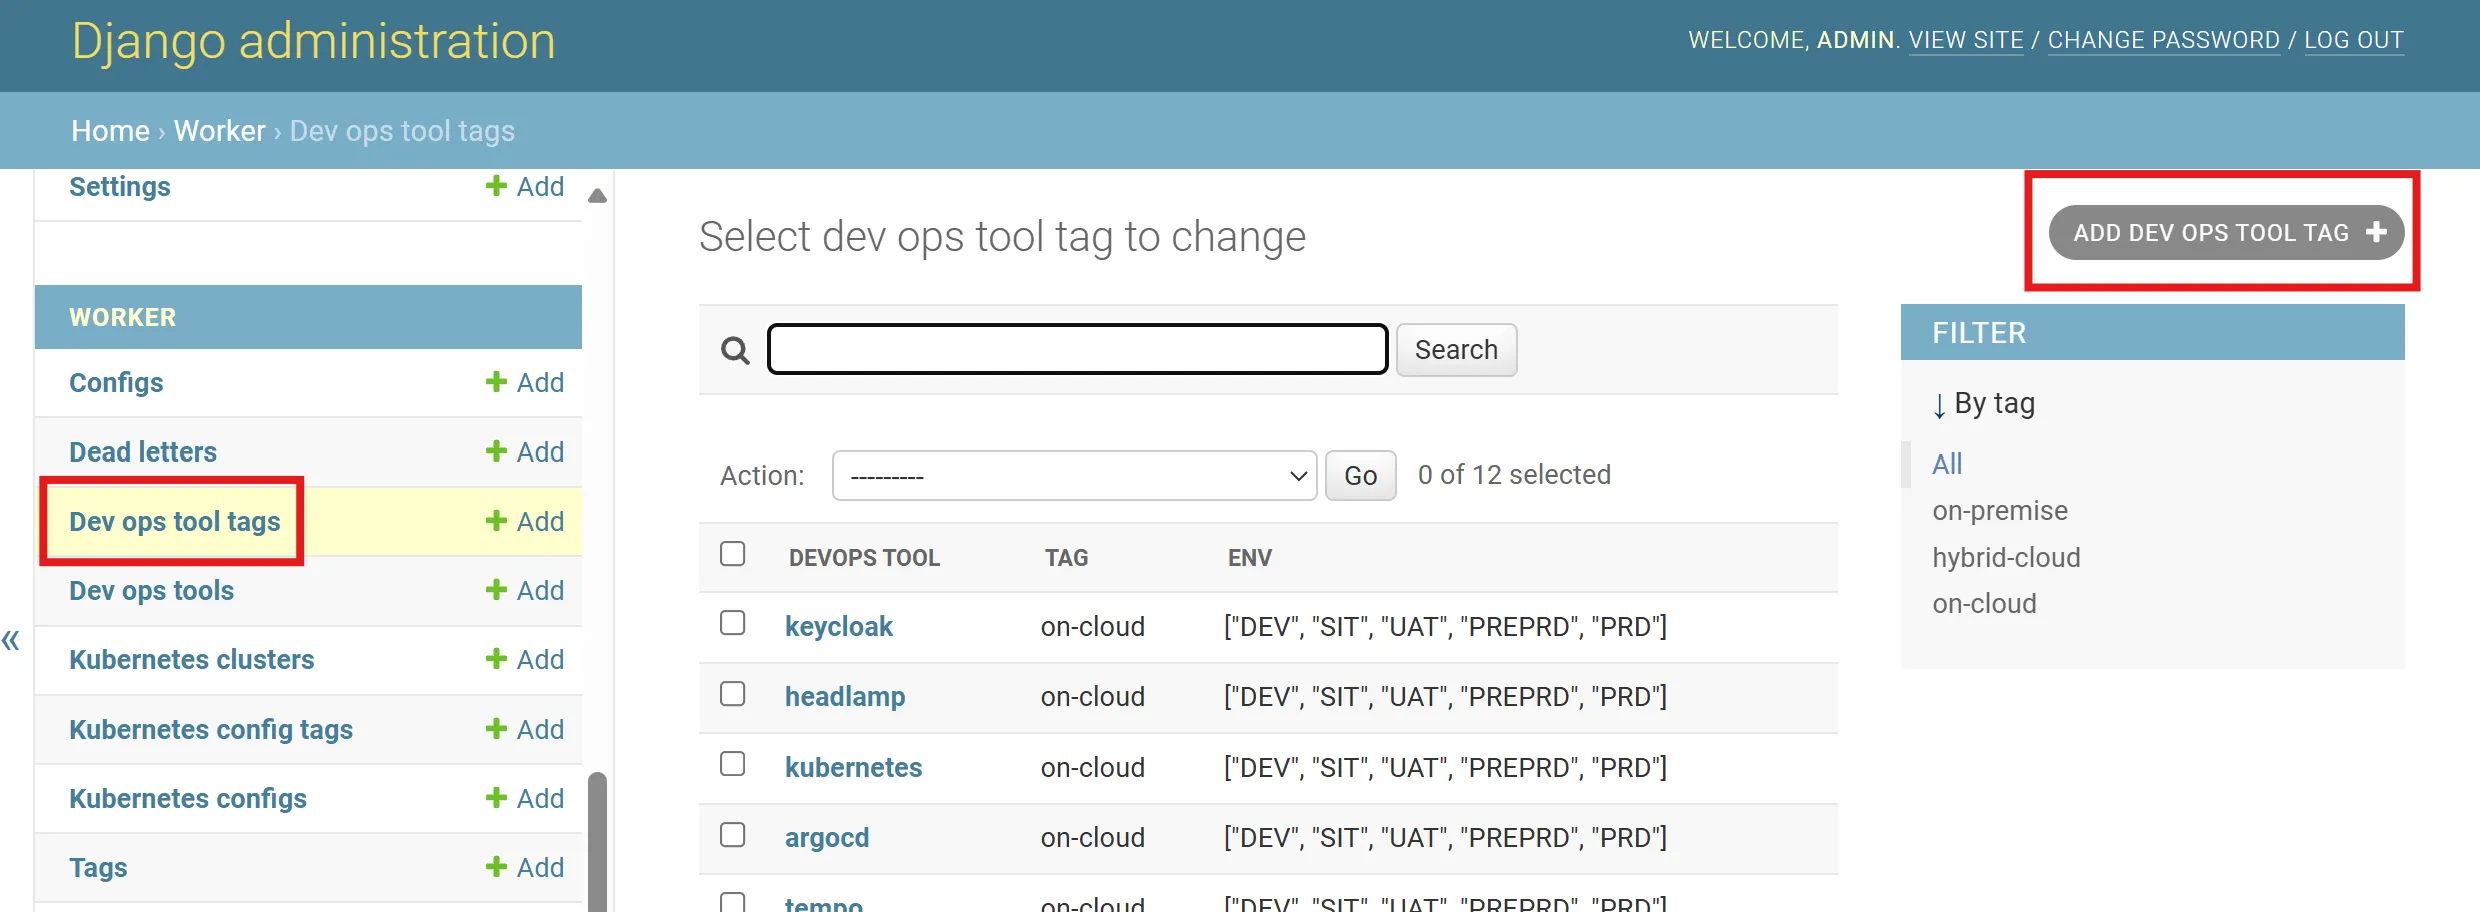
-
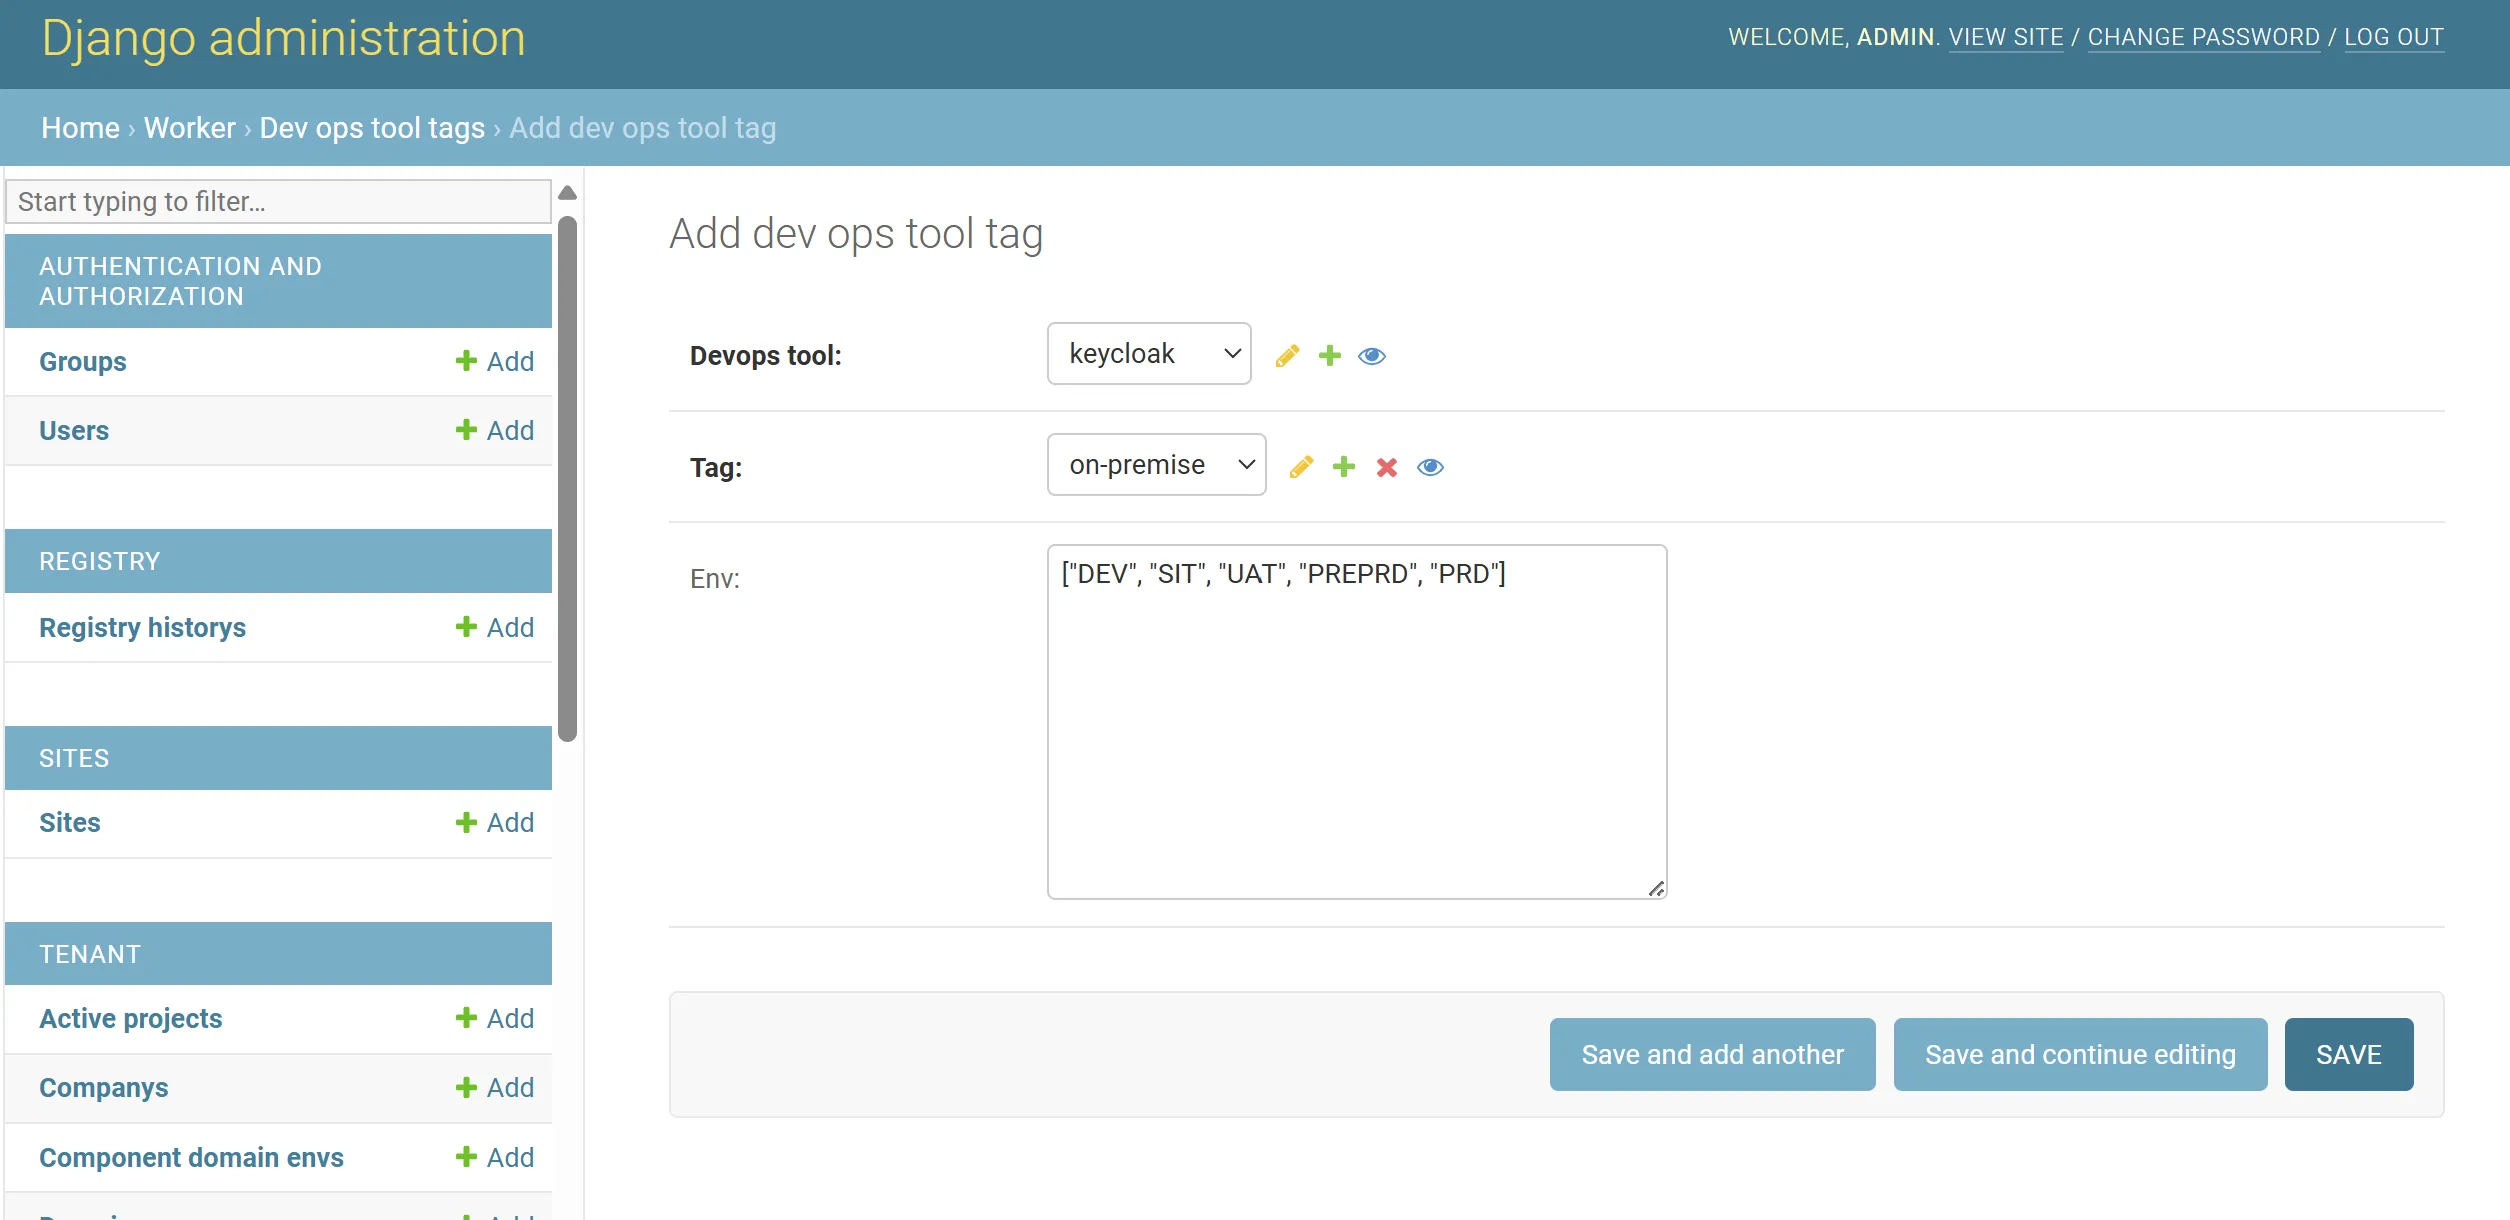
Select/Specify the following
-
Devops tool:
keycloak -
Tag:
on-premise -
Env:
["DEV", "SIT", "UAT", "PREPRD", "PRD"](In case where you have 5 Environments in Opstella)- This text will need to be change ONLY IF you will have different number of Environments managed by Opstella
- For instance, you only have 3 Environments managed by Opstella (
DEV,PRE,PRD)- This field will be
["DEV", "PREPRD", "PRD"]
- This field will be
-
-
Click
Saveon the bottom right
Opstella Company Synchronisation
Section titled “Opstella Company Synchronisation”-
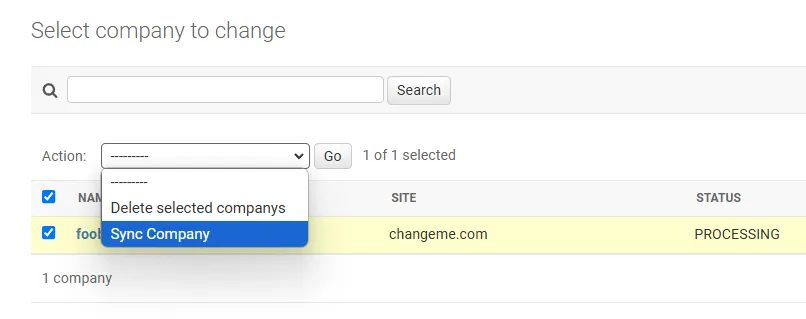
Go to
Tenant>Companys; You should see a record of your organization name, havingPROCESSINGStatus.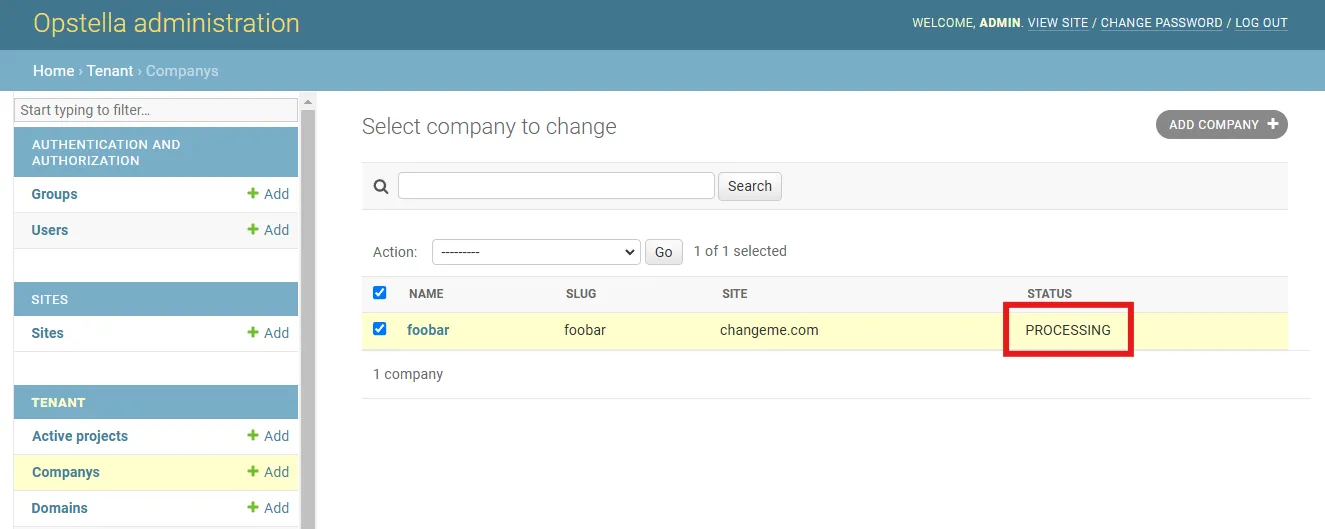
-
Tick ✅ on the record of your organization name.
-
The record of your organization name should soon have the Status of
ACTIVE; Try refresh the page if it is not changing.
Finished?
Use the below navigation to proceed